Do you ever have those weeks where you need to hunker down and save some money? This budget-friendly burrito lasagna costs about $10 dollars (less if you buy store-brand items or have coupons), it yields 12 servings, and it tastes absolutely delicious!
Let me show you how easy it is to make!
Preparing Your Budget-Friendly Burrito Lasagna for Success
Gather all your ingredients to make the assembly of this layered casserole really easy. This picture has the ingredients I used.
Typically, I buy store-brand products when trying to keep costs down, but I splurge on the ingredients that carry the flavor (the enchilada sauce and seasoning) because they are my favorite!
Step 1: Prepare the Pan
Start by heating your oven to 350 degrees. Then pull out a 13×9 glass pan and pour just a little bit of enchilada sauce on the bottom so that the tortillas won’t stick.
You will need to reserve about 4-5 oz of enchilada sauce for the topping as well, so make sure you have either 2 small 10 oz cans or a large 20 oz can/bottle.

Step 2: Cook the Filling
In a medium saucepan, combine a can of drained black beans, a can of drained corn, and 10 oz of your favorite enchilada sauce. I really love the enchilada sauce from Trader Joe’s because it has a kick to it!
Now pour in a package of taco seasoning (I use Lawry’s and buy it in bulk so it costs even less) and 1 Tablespoon of cumin. Mix that all together over medium heat until it is slightly bubbling. Remove it, and set it aside.

Helpful Tip: You can also make this casserole with ground beef or turkey. Simply brown the meat and then add the ingredients I just listed. However, keep in mind that adding meat will increase the cost of this dish.
Step 3: Assemble the First Layer
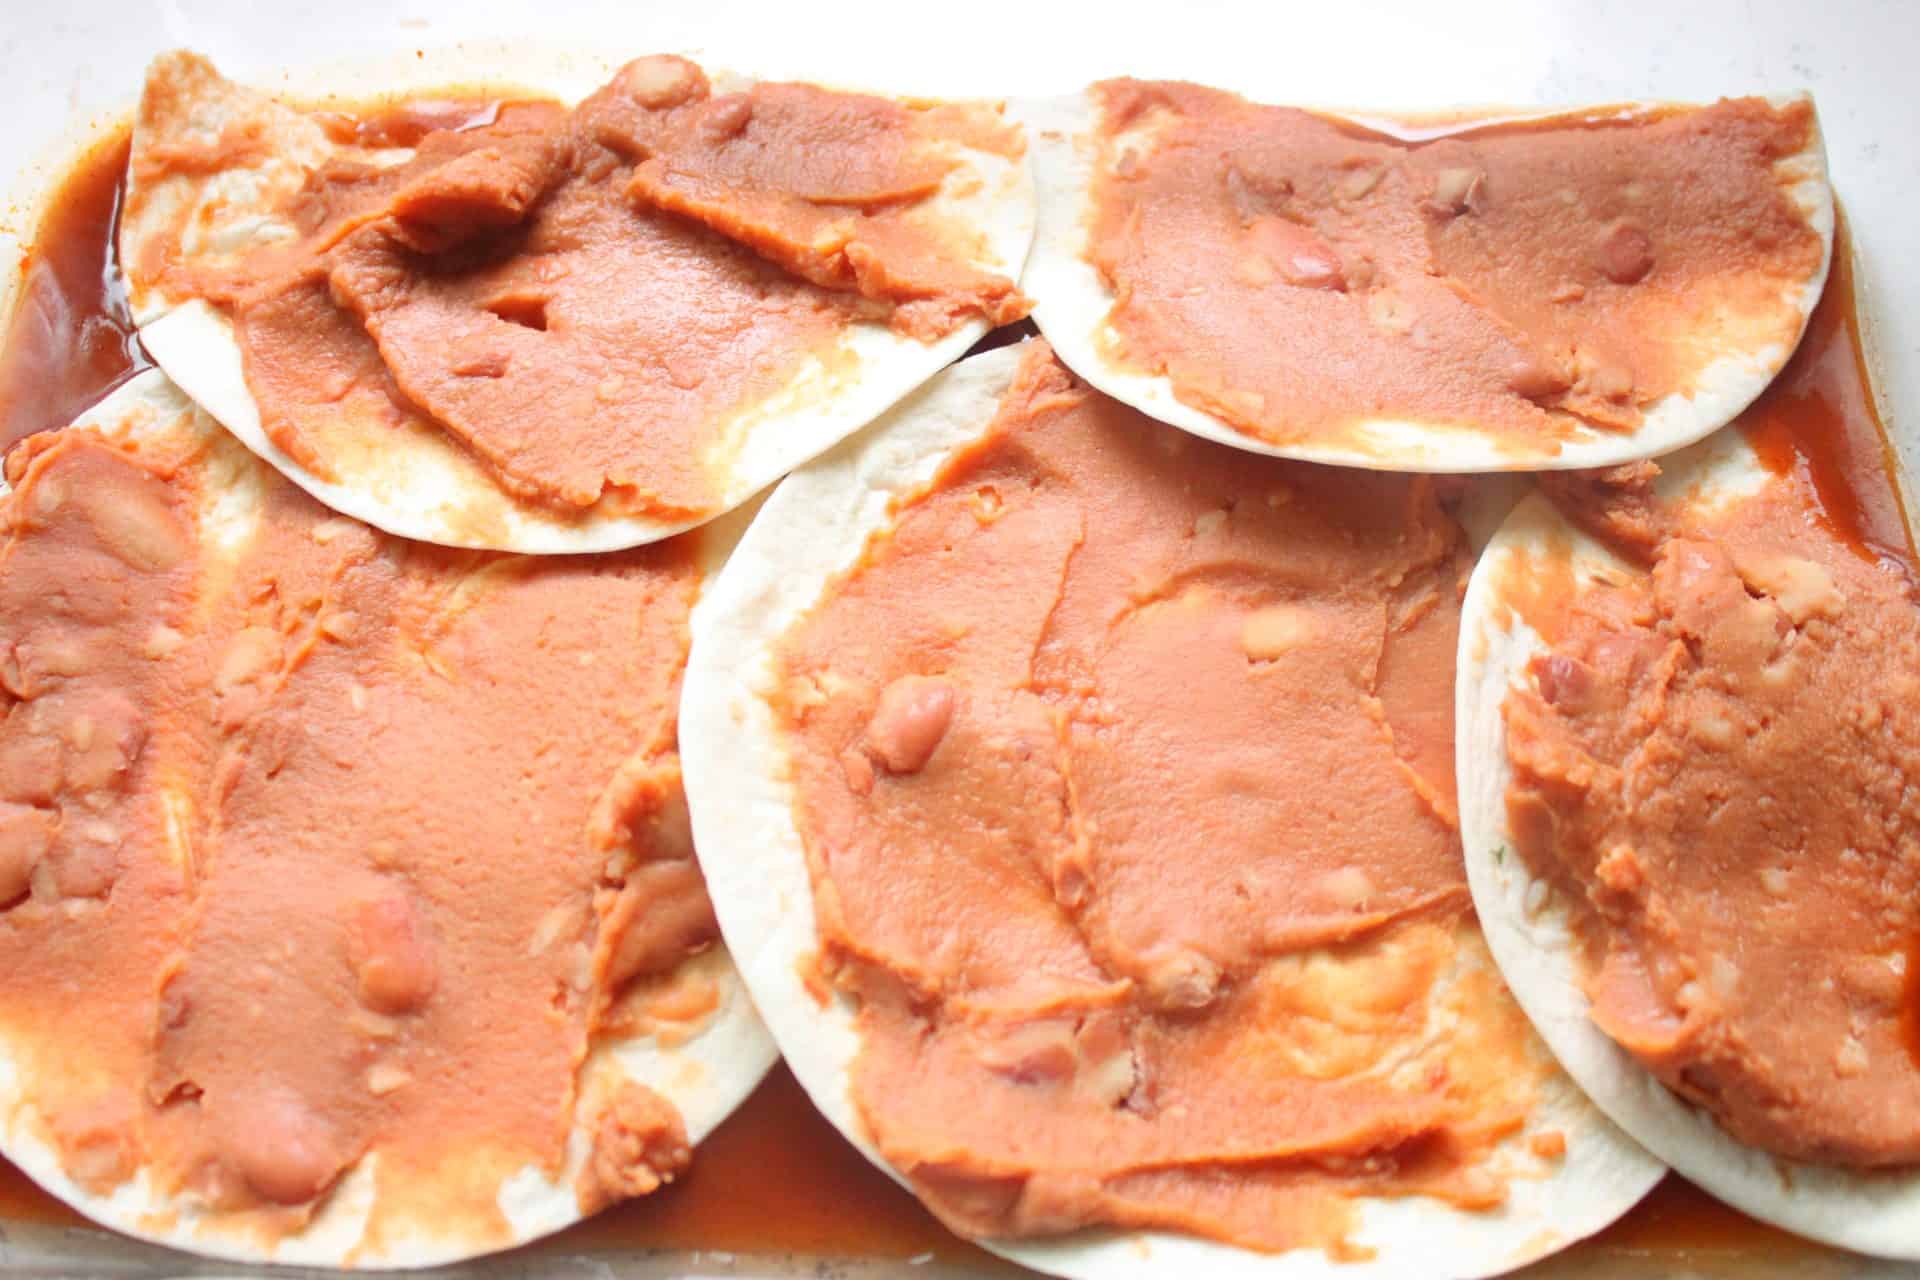
Now, grab 10-12 soft taco-sized flour tortillas and a 32 oz can of refried beans. Use a spatula to layer the beans onto the tortillas and then place them into the glass pan so that the bottom is covered.
I cut some tortillas in half to better cover the pan. Save the rest of the tortillas and refried beans for the following layers.
Step 4: Add Rice and Bean Mixture
Heat a package of instant Spanish rice in the microwave according to the directions. I use Uncle Ben’s Spanish rice, and I heat 1 package for 90 seconds.
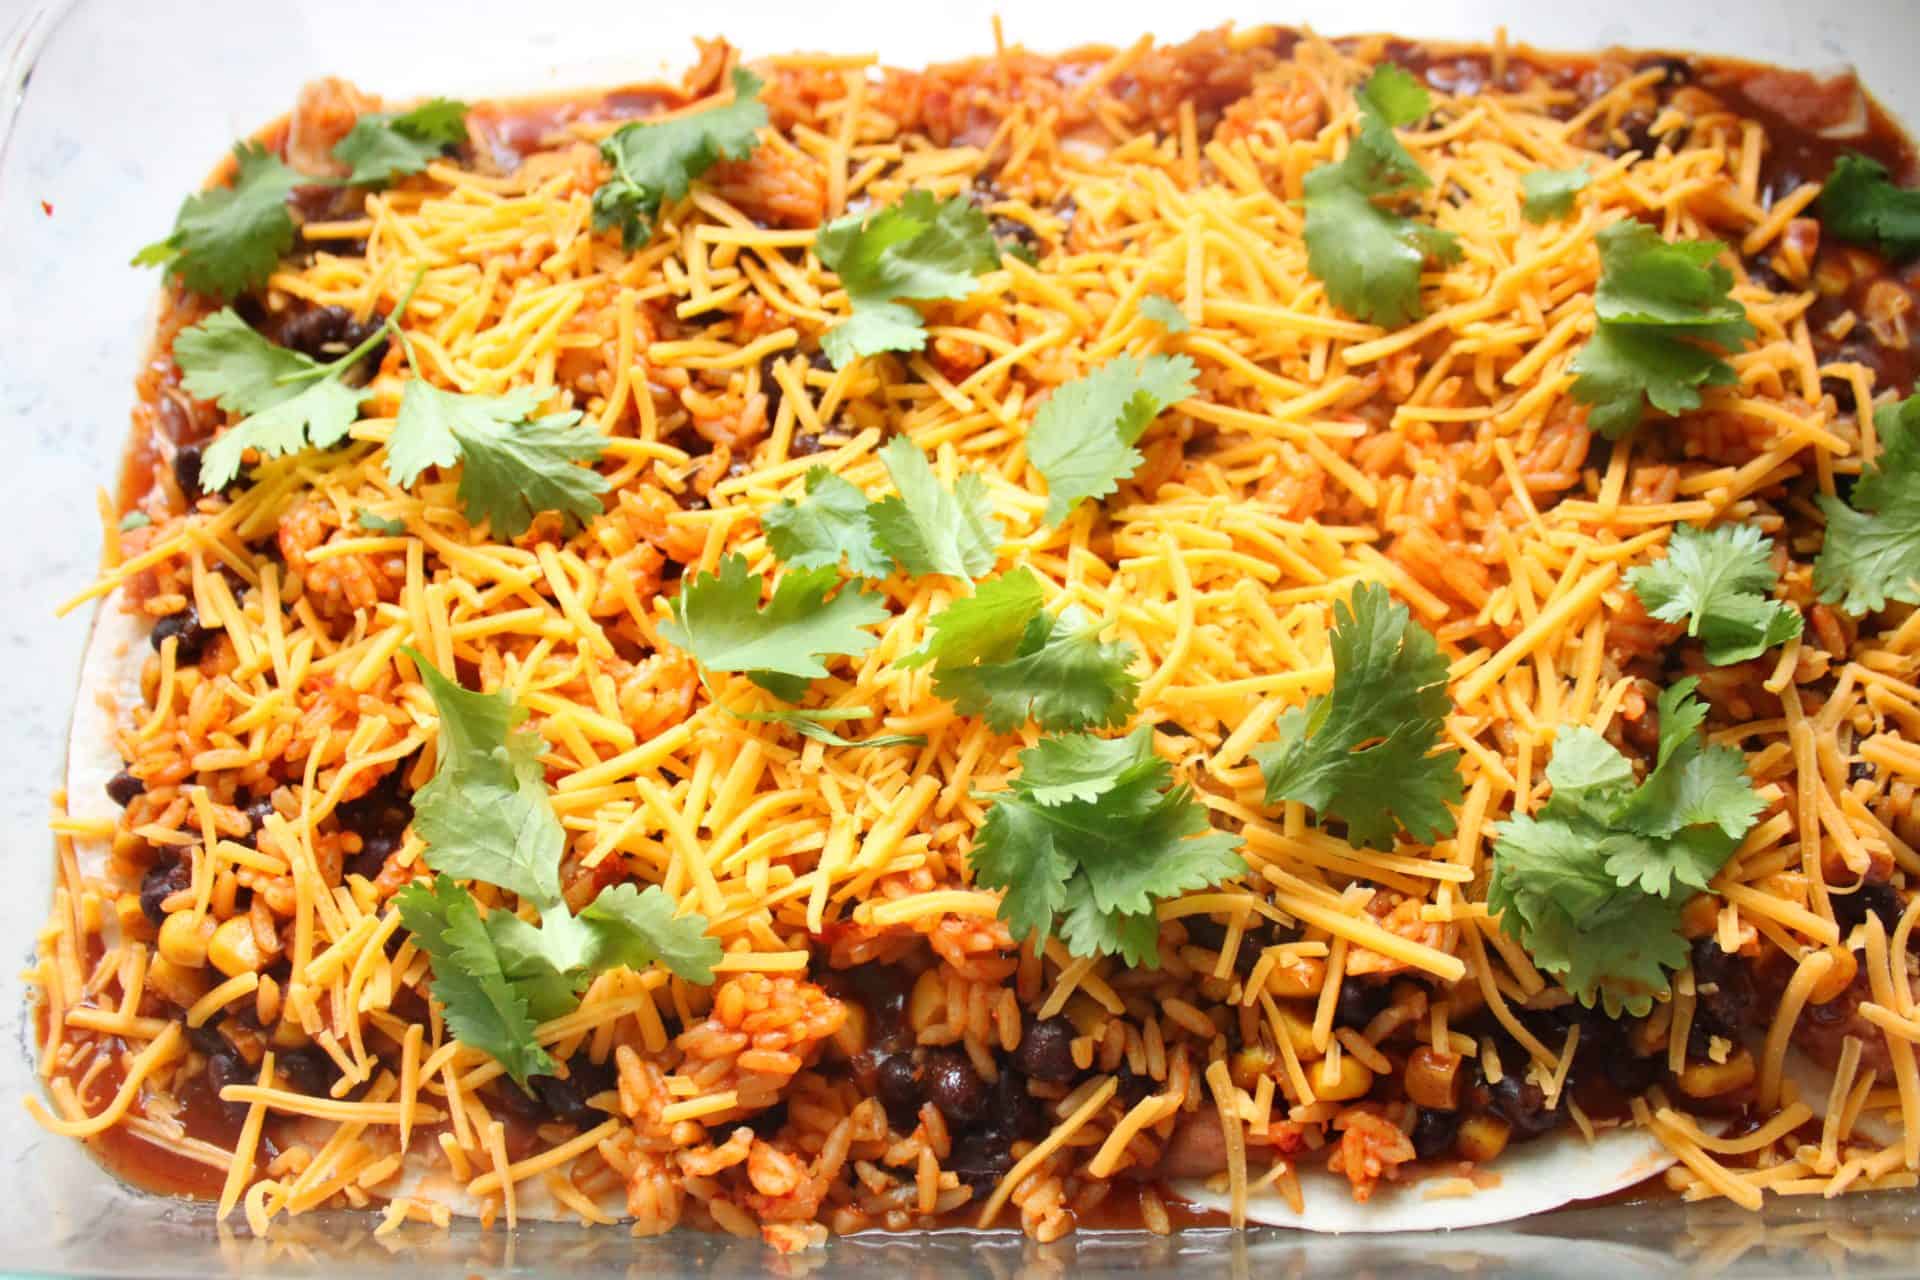
When that is done, pour on half of the black bean and corn mixture from the stove and then half the package of rice.

Step 5: Cheese and Extras
Sprinkle on a layer of cheddar cheese, and feel free to add any extras like cilantro, lettuce, spinach, olives, etc.

Now repeat the layers all over again: tortillas spread with refried beans, the remaining black bean mixture, the remaining rice, cheese, and any extras.
Step 6: Final Layer and Sauce
Top the budget-friendly burrito lasagna with one last layer of tortillas and the remaining enchilada sauce.
Step 7: Bake Until Perfection
Sprinkle a handful of cheese on top, and then cover the dish with aluminum foil.
Try not to let the foil touch the cheese because the cheese will adhere and pull off the burrito lasagna when you remove the foil.
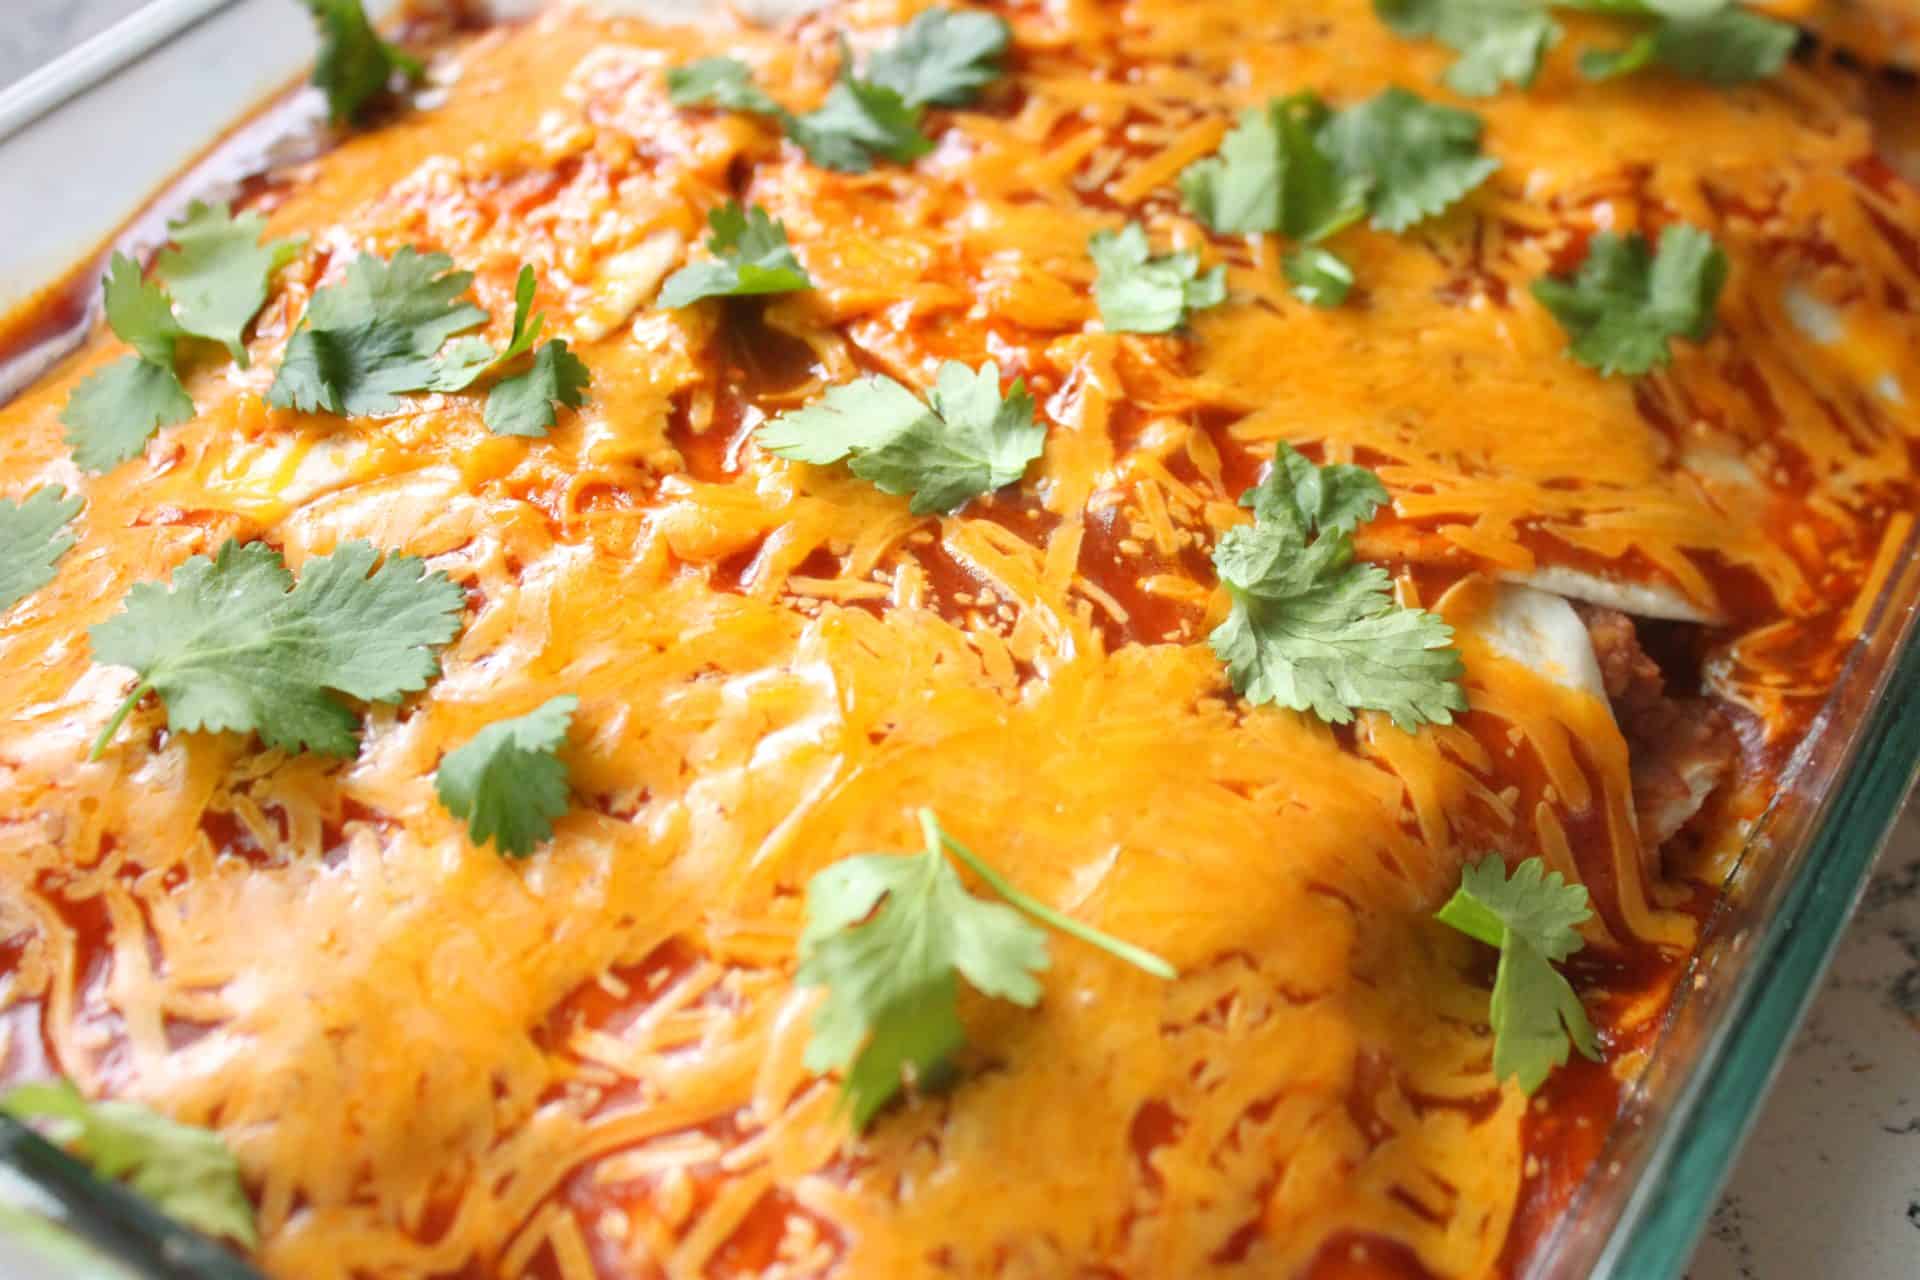
Bake the burrito lasagna at 350 degrees for about 20 minutes, and then remove the foil.
Uncover and bake for another 10-15 minutes or until the cheese is completely melted.
Serving Suggestions
Mince a 1/4 cup of cilantro and sprinkle on top for some added color. I like to let the budget-friendly burrito lasagna stand for a few minutes so that all the yummy enchilada sauce doesn’t drip out when I cut into it.
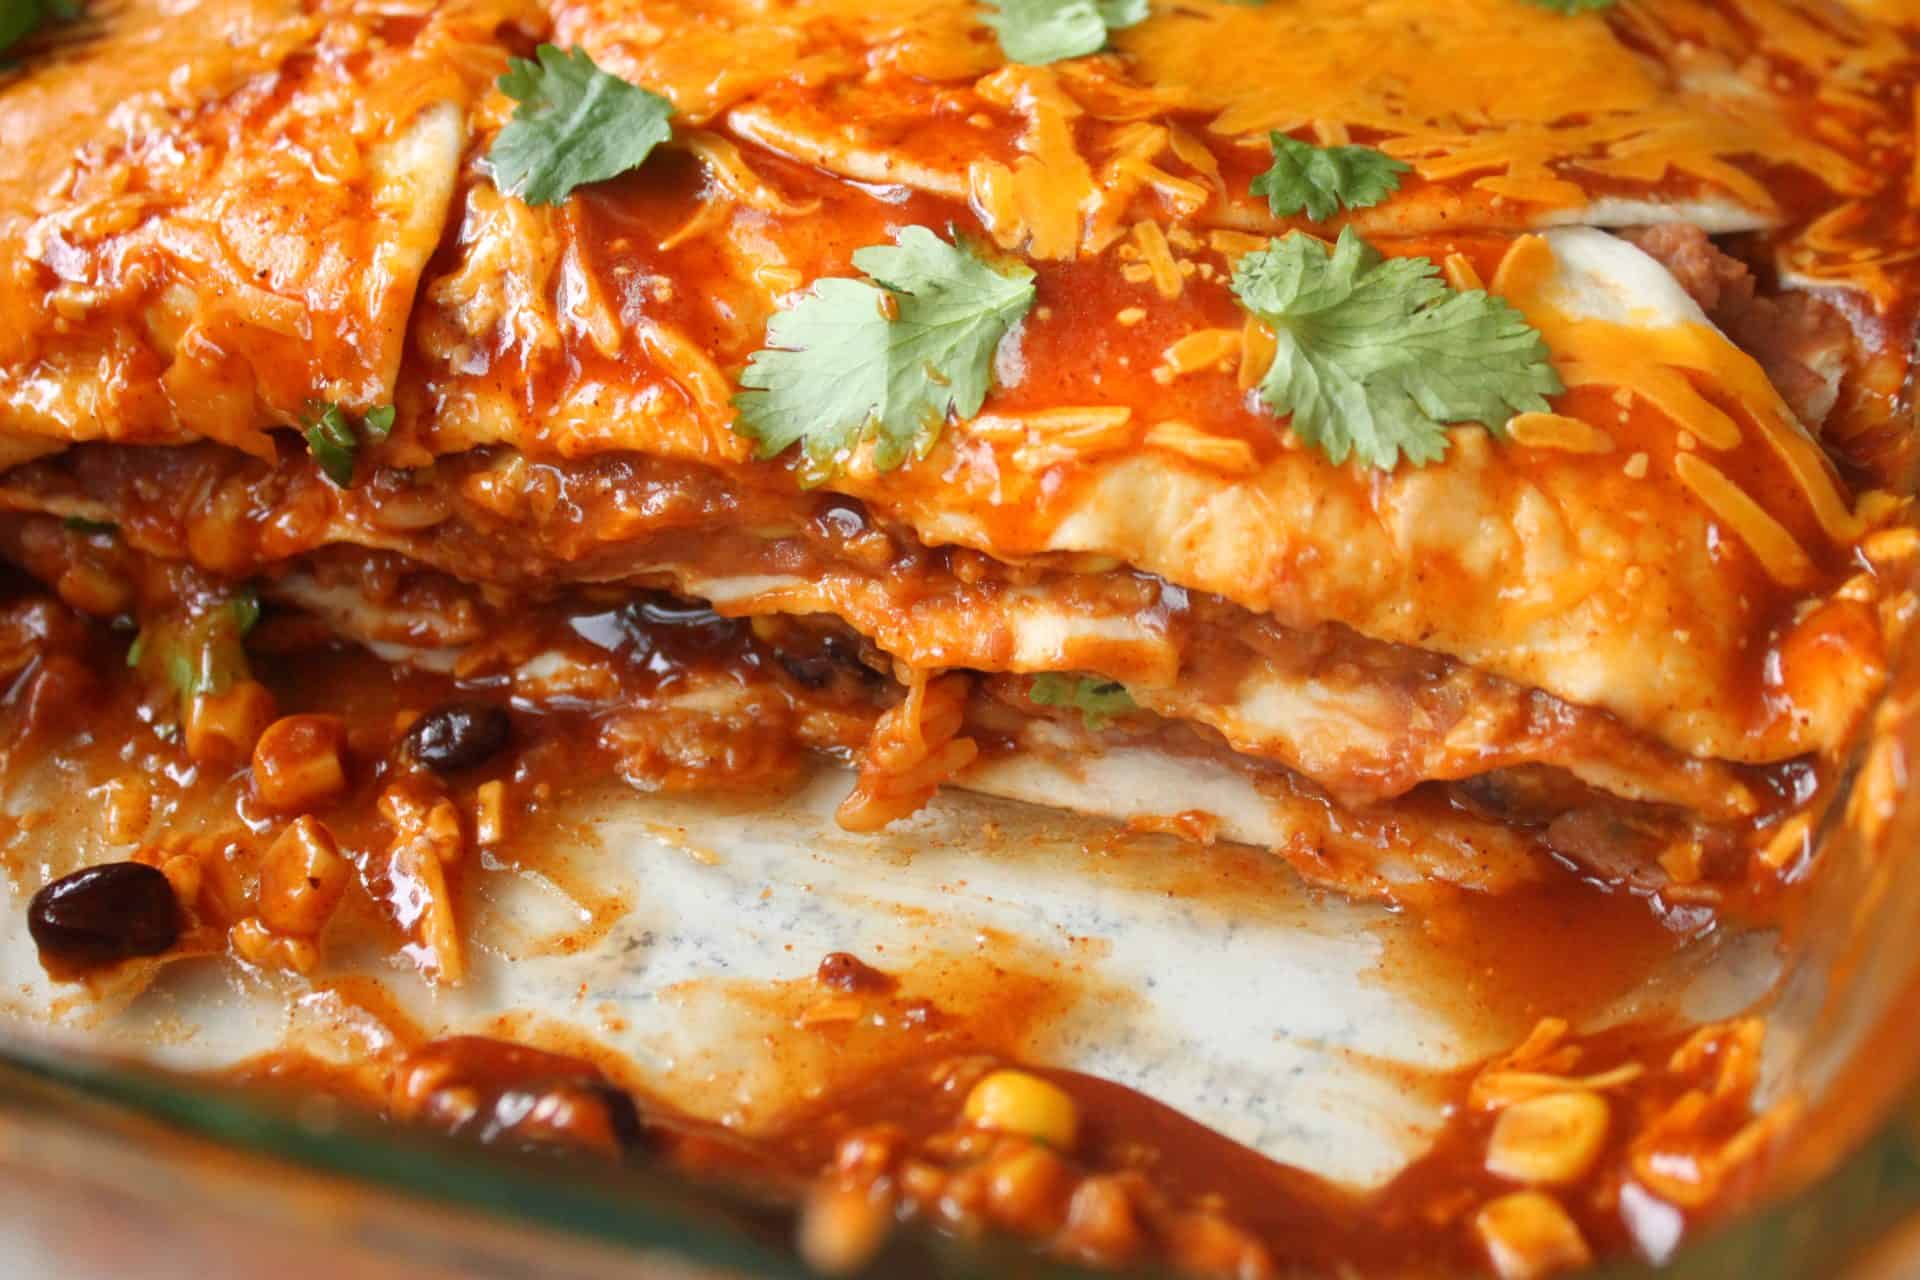
After 10 minutes or so, cut into the burrito lasagna and feast your eyes on those beautiful layers! (Try not to drool if you are having guests!)
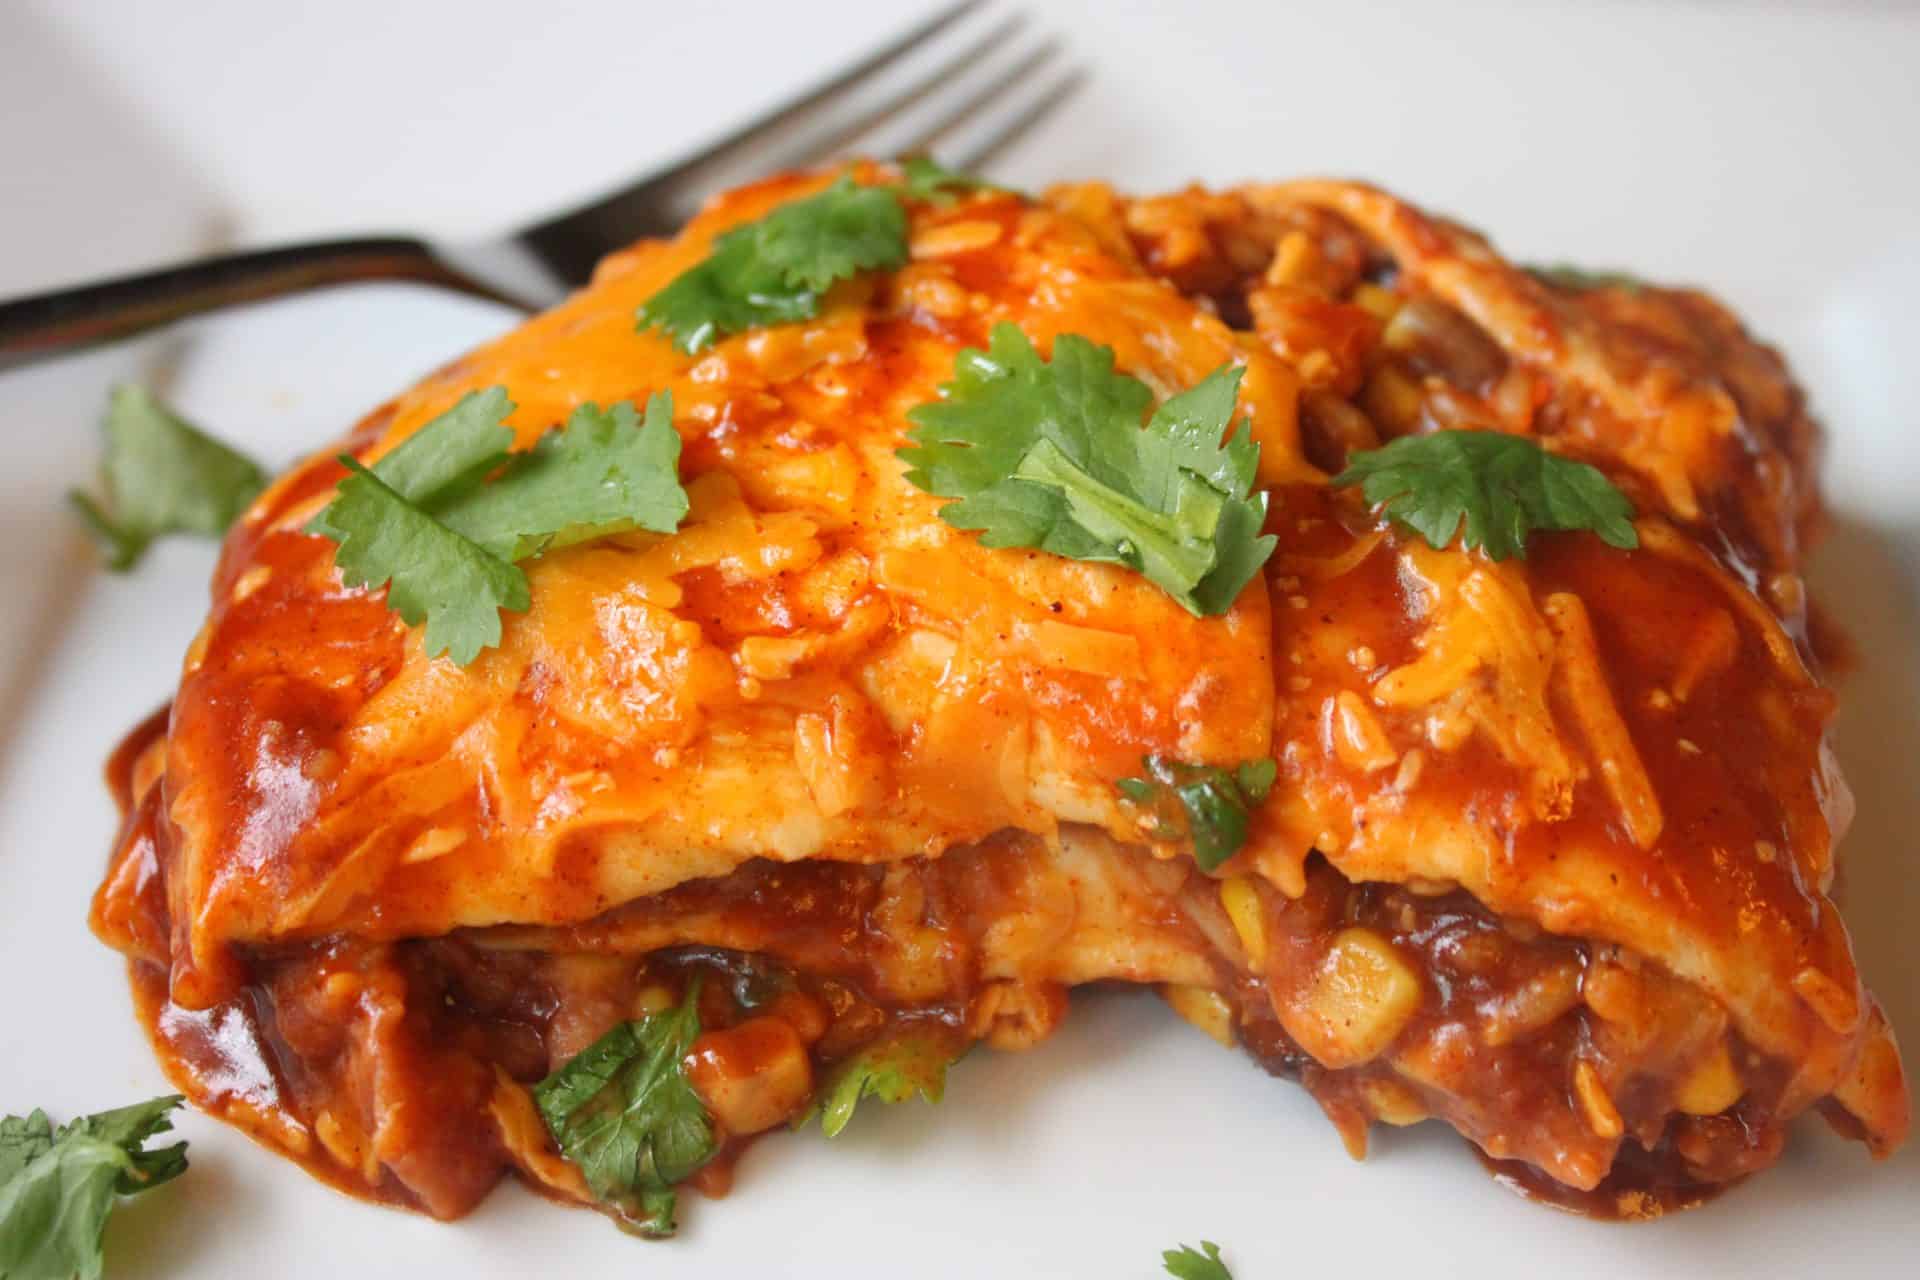
Look at that yummy (and CHEAP!) dinner! It doesn’t look cheap though, does it? I serve this budget-friendly burrito lasagna with a side of chunky guacamole, homemade salsa, and tortilla chips.
My family’s bellies are more than full, and so is my wallet! Let me also add that this is a great freezer meal. Simply assemble it per the instructions, cover it with foil, and freeze until you are ready to cook.
I let the budget-friendly burrito lasagna thaw a couple of hours before I bake it, but you can also bake it from a frozen state. It will take about an hour or more… or until it is bubbling and the cheese is melted. It’s the perfect gift to bring to a mama with a new baby or a friend who just had surgery!
Happy cooking ya’ll!
P.S. If you enjoyed this recipe, please leave a comment below. I would love to hear your thoughts! Happy eating!


1 comment
Judi
You can spray the foil with non-stick cooking spray and it really helps to not lose your top cheese layer!