10-minute roasted asparagus is one of my favorite vegetables to make because of how quick and brainless it is. It’s a go-to option when I need something simple yet flavorful to round out a meal. I mean, who doesn’t like a perfectly seasoned side dish that’s ready in just 10 minutes?
Whether I’m rushing to get dinner on the table or planning a more elaborate spread, 10-minute roasted asparagus always fits the bill. I often serve it with a variety of main courses like grilled meats or baked fish, and sometimes I even chop it up to toss into more robust salads for added texture and flavor.
Simple Steps to 10-minute roasted asparagus
Getting 10-minute roasted asparagus just right is easier than you think! With a few simple tips and tricks, you can create a flavorful side dish that complements practically any main course. Follow these steps to keep your asparagus fresh, season it perfectly and roast it to tender perfection.
Step 1: Cut and Store Asparagus Properly
I only grocery shop once a week, so I don’t always cook asparagus the same day I bring it home. To keep it fresh for as long as possible, I give it a little prep beforehand. Start by cutting off about an inch from the ends to remove the tough, woody part. It’s easiest to cut just above the rubber band that holds the bundle together. That way, you can grab all the ends at once and toss them out with no mess.

Next, take a mason jar or small container, fill it with about 2 inches of water, and pop the trimmed asparagus into it like a bouquet of flowers. This helps keep them crisp and ready to use. Store the jar in the fridge, and your asparagus will stay fresh for up to 4-5 days. Trust me, it’s worth taking this extra step, especially if your week gets busy!

Step 2: Season and Bake
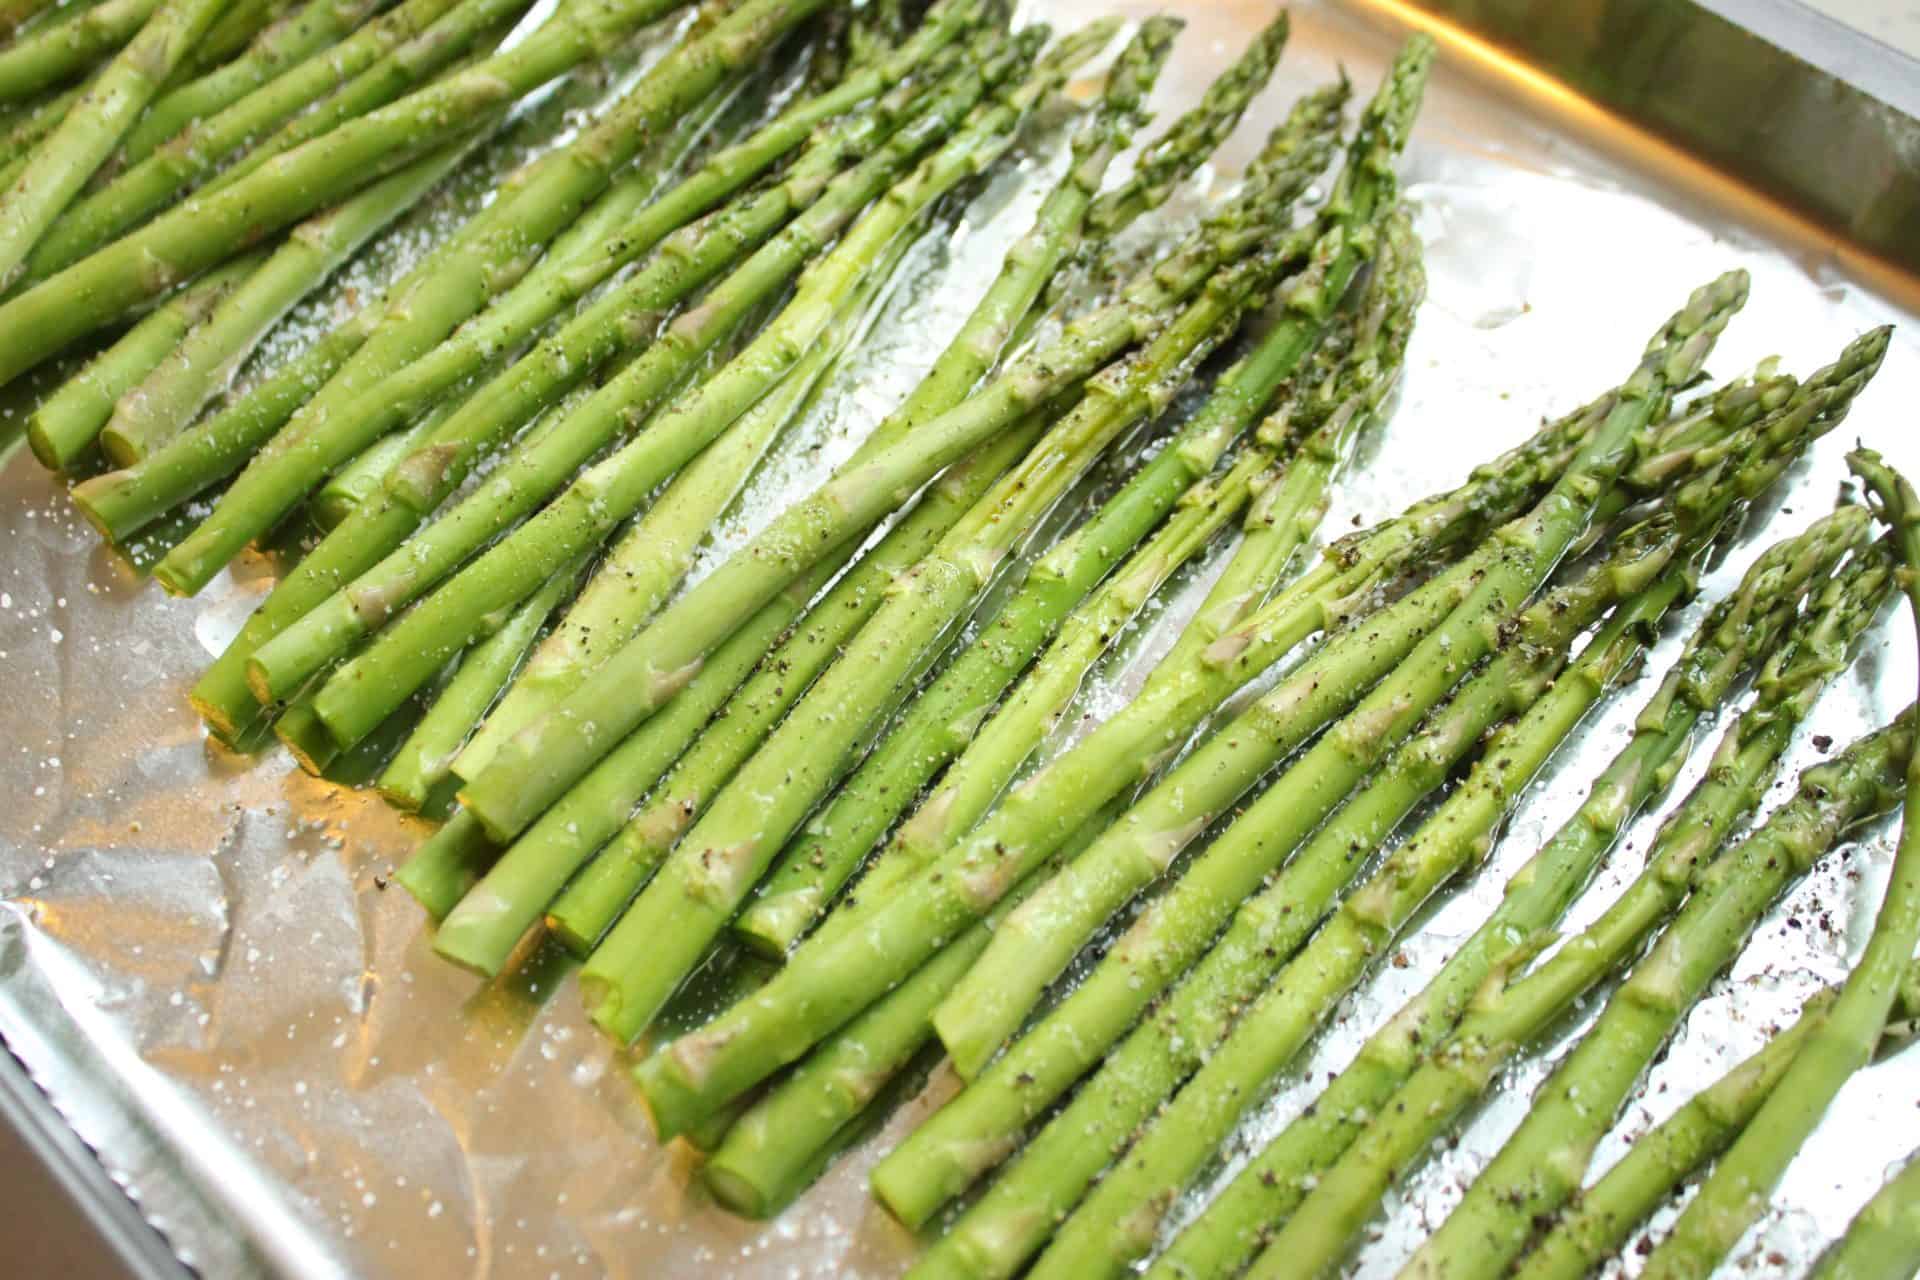
When you’re ready to cook, preheat your oven to 400 degrees. While the oven is heating up, pull out your asparagus and line a cookie sheet with foil for easy clean-up (because who wants to scrub pans later?). Lay the asparagus out in a single layer on the foil. Drizzle olive oil generously over the top. It doesn’t have to be perfect, just enough to coat them lightly.
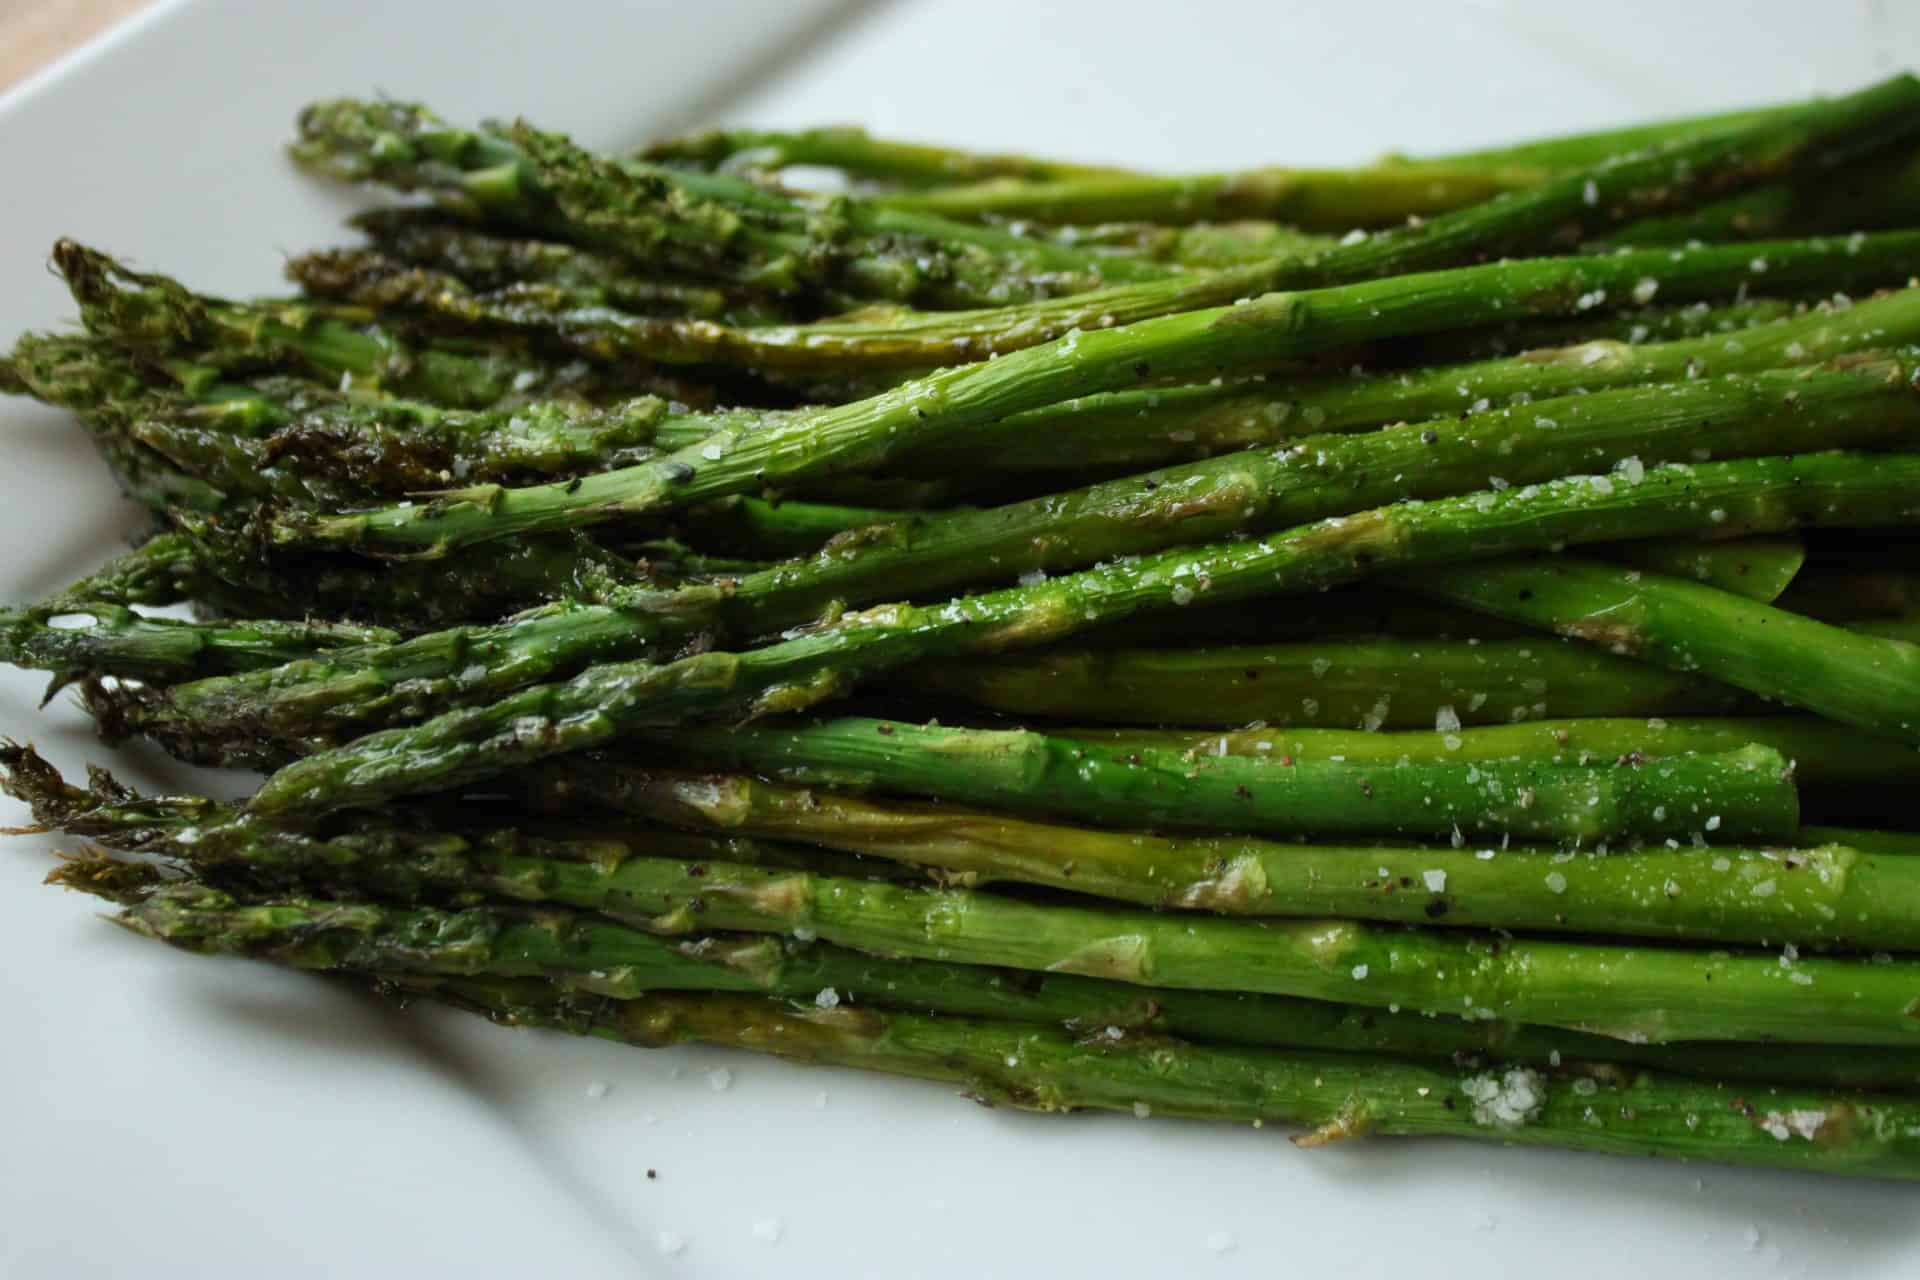
Now, roll those spears side to side with your hands to make sure the olive oil is evenly spread. This helps them roast beautifully. Sprinkle on some kosher salt and freshly ground pepper for that perfect bite of seasoning. Slide the tray into the oven for just 10 minutes, then sit back while your kitchen fills with that delicious roasted aroma. By the time you check on them, they’ll be tender yet slightly crisp, just the way everyone loves!

Step 3: Serve
After pulling them out of the oven, let the 10-minute roasted asparagus cool for a minute or two before serving, as it’ll make handling a bit easier.

10-Minute Roasted Asparagus: A Versatile Favorite
Roasted asparagus goes with nearly anything–it is even delicious chopped up inside pasta and rice dishes or tossed in salads. From cozy family dinners to holiday spreads, this quick and flavorful side dish is sure to impress. Whether you’re pairing it with a hearty Crockpot baby-back ribs or a lighter dijon salmon or apricot sage chicken, you’ll love how effortlessly it complements your meal.
What do you think you’ll serve it with? I’d love to hear how you enjoy this 10-minute roasted asparagus or any fun ways you incorporate it into your meals. Happy cooking, y’all!
