
Do you know how to cook spatchcock chicken? Do you even know what spatchcock Chicken is? I confess I didn’t until a couple of years ago. I was watching The Kitchen where they demonstrated all sorts of different ways to cook a whole chicken.
Once I got past the awkwardness of the name and saw how easy it was to cook, I knew I needed to learn how to cook spatchcock chicken.
I decided to roast my spatchcock chicken in the oven with my homemade BBQ sauce, and boy, was it amazing! I’m drooling right now, just thinking of it!
Why Spatchcock Chicken Is Worth Trying
Spatchcock chicken is not only fun to prepare, but it’s also a game-changer for quick and even cooking. Plus, it makes seasoning and basting much easier and ensures optimal crispiness. Let’s dive into how to make this mouthwatering dish a staple in your home!
What is a Spatchcocked Chicken Anyway?
Spatchcock chicken is just another (and slightly awkward!) way of saying you’re going to cut the backbone out of a whole chicken and lay it flat to cook.
The reason people like to cook chicken this way is mainly because the chicken cooks quicker and more evenly. It is also easy to season and monitor the crispiness and baste.

Spatchcocking tonight. Tuesday's still open?
Heidi's chicken broccoli casserole is Tuesday.
How to Cook Spatchcock Chicken
Learning how to cook spatchcock chicken is easier than you might think. With a few simple techniques, you’ll have a flavorful and evenly cooked meal that your family will love.
Step 1: How to Cut a Spatchcock Chicken
All you have to do to spatchcock a 4 to 5 pound chicken is turn a chicken over, breast side down, and find the backbone. Take a pair of very sharp kitchen shears and cut along the outside of the backbone on both sides.
You’re going to have to use your muscles, and you’ll hear some bone cracking, but the backbone should come out easily so that you can see the inside of the chicken.

Once the backbone is removed, turn the chicken over so that it is breast-side up. Push down on the breastbone so the chicken lies completely flat. You might hear the breastbone crack when you press down.
Step 2: Chicken Seasonings
To season the chicken, I like to use a simple rub of 2 tablespoons of olive oil, 1 tablespoon of kosher salt, and 1 teaspoon of freshly ground black pepper. This is especially good to do if you are going to baste the chicken in some other kind of sauce because it doesn’t detract from the flavor of your sauce; it only enhances it!
I rub the olive oil all over the skin (even under the wings), and then I generously sprinkle on the salt and pepper.

I like to roast vegetables with my spatchcock chicken because it makes a complete dinner for the family with a lot less work for me!
I simply cover a cookie sheet with foil and then layer on about 4 cups of root vegetables that have been tossed in olive oil, salt, and pepper. The layer of vegetables has a dual purpose as it keeps the spatchcock chicken slightly lifted off the pan.

When I was learning how to cook spatchcock chicken, I found out this allows air underneath so that the roasted chicken will cook quicker and more evenly.
Step 3: Homemade BBQ Sauce Recipe
Now, what is a baked chicken without BBQ sauce? Boring, in my opinion! I live in the South, where it is a sin to not have a finger-licking good BBQ sauce to accompany your grilled chicken.
I make an easy homemade BBQ sauce recipe in a mason jar so that I can shake it all up without making a big mess. Then I can baste my chicken with it or pour it out for dipping.
Then I simply screw the lid back on and keep it in the fridge for up to 7 days!

Here are the BBQ sauce ingredients you will need:
- 1 tablespoon olive oil
- 1 tablespoon minced garlic
- 1/4 cup diced fresh chives
- 1 cup ketchup
- 1/3 cup molasses
- 1/3 cup brown sugar
- 4 tablespoons minced chipotle peppers in adobo sauce
- 4 tablespoons apple cider vinegar
- 1 tablespoon Worcestershire sauce
- Dash Kosher salt
This amazing BBQ sauce can be used in any recipe that calls for BBQ sauce, and it tastes even better than anything in a bottle!
I used it to baste my spatchcock chicken. I used a basting brush to smother all that spicy-sweet sauce in every crevice of the chicken.

You could also use this BBQ sauce in my amazing Crockpot baby-back ribs recipe! Not only is the sauce amazing, but it complements the ribs PERFECTLY!
Step 4: How to Bake a Spatchcocked Chicken
Now we get to the actual cooking of your “How to Cook Spatchcock Chicken” lesson! You will need to heat the oven to 425 degrees and then bake the spatchcock chicken and vegetables for 25 minutes. Once the first 25 minutes are done, remove the chicken and baste it with more BBQ sauce every 10 minutes.
This ensures that the meat stays moist and flavorful.
You will probably need to do this 3 or 4 times (or 30 to 40 minutes), depending on how large your chicken is.
You will know the chicken is done when a meat thermometer reads 165 degrees in the thickest part of the breast meat.

Once the chicken is done cooking, let it cool on the counter for 10 to 15 minutes. After that, the chicken should be cool enough for you to cut.
Use a sharp knife to cut the two thighs/legs off. You can separate these two pieces if you like. Then, use the knife to remove each wing and then, finally, the breast meat. Everything should fit beautifully onto a platter if you would like to present it all at once.

A Meal Your Family Will Love Every Time
And that’s it! Now you know how to cook spatchcock chicken. My spatchcock chicken didn’t make it to the table. I had great intentions for it, but before I could get the breast meat off, my sister came over. She hovered over the chicken, gobbling it up while it was still hot.
She ended up eating the whole thing! She is growing my niece inside her belly, so I couldn’t judge her too badly! ;-)
If you love cooking chicken for dinner like me, you may also enjoy my 30-minute chicken and black bean fajitas or my one pan lemon parmesan chicken.
P.S. If you enjoyed this recipe, or you have any questions, drop me a line in the comment section! Happy cooking, y’all!

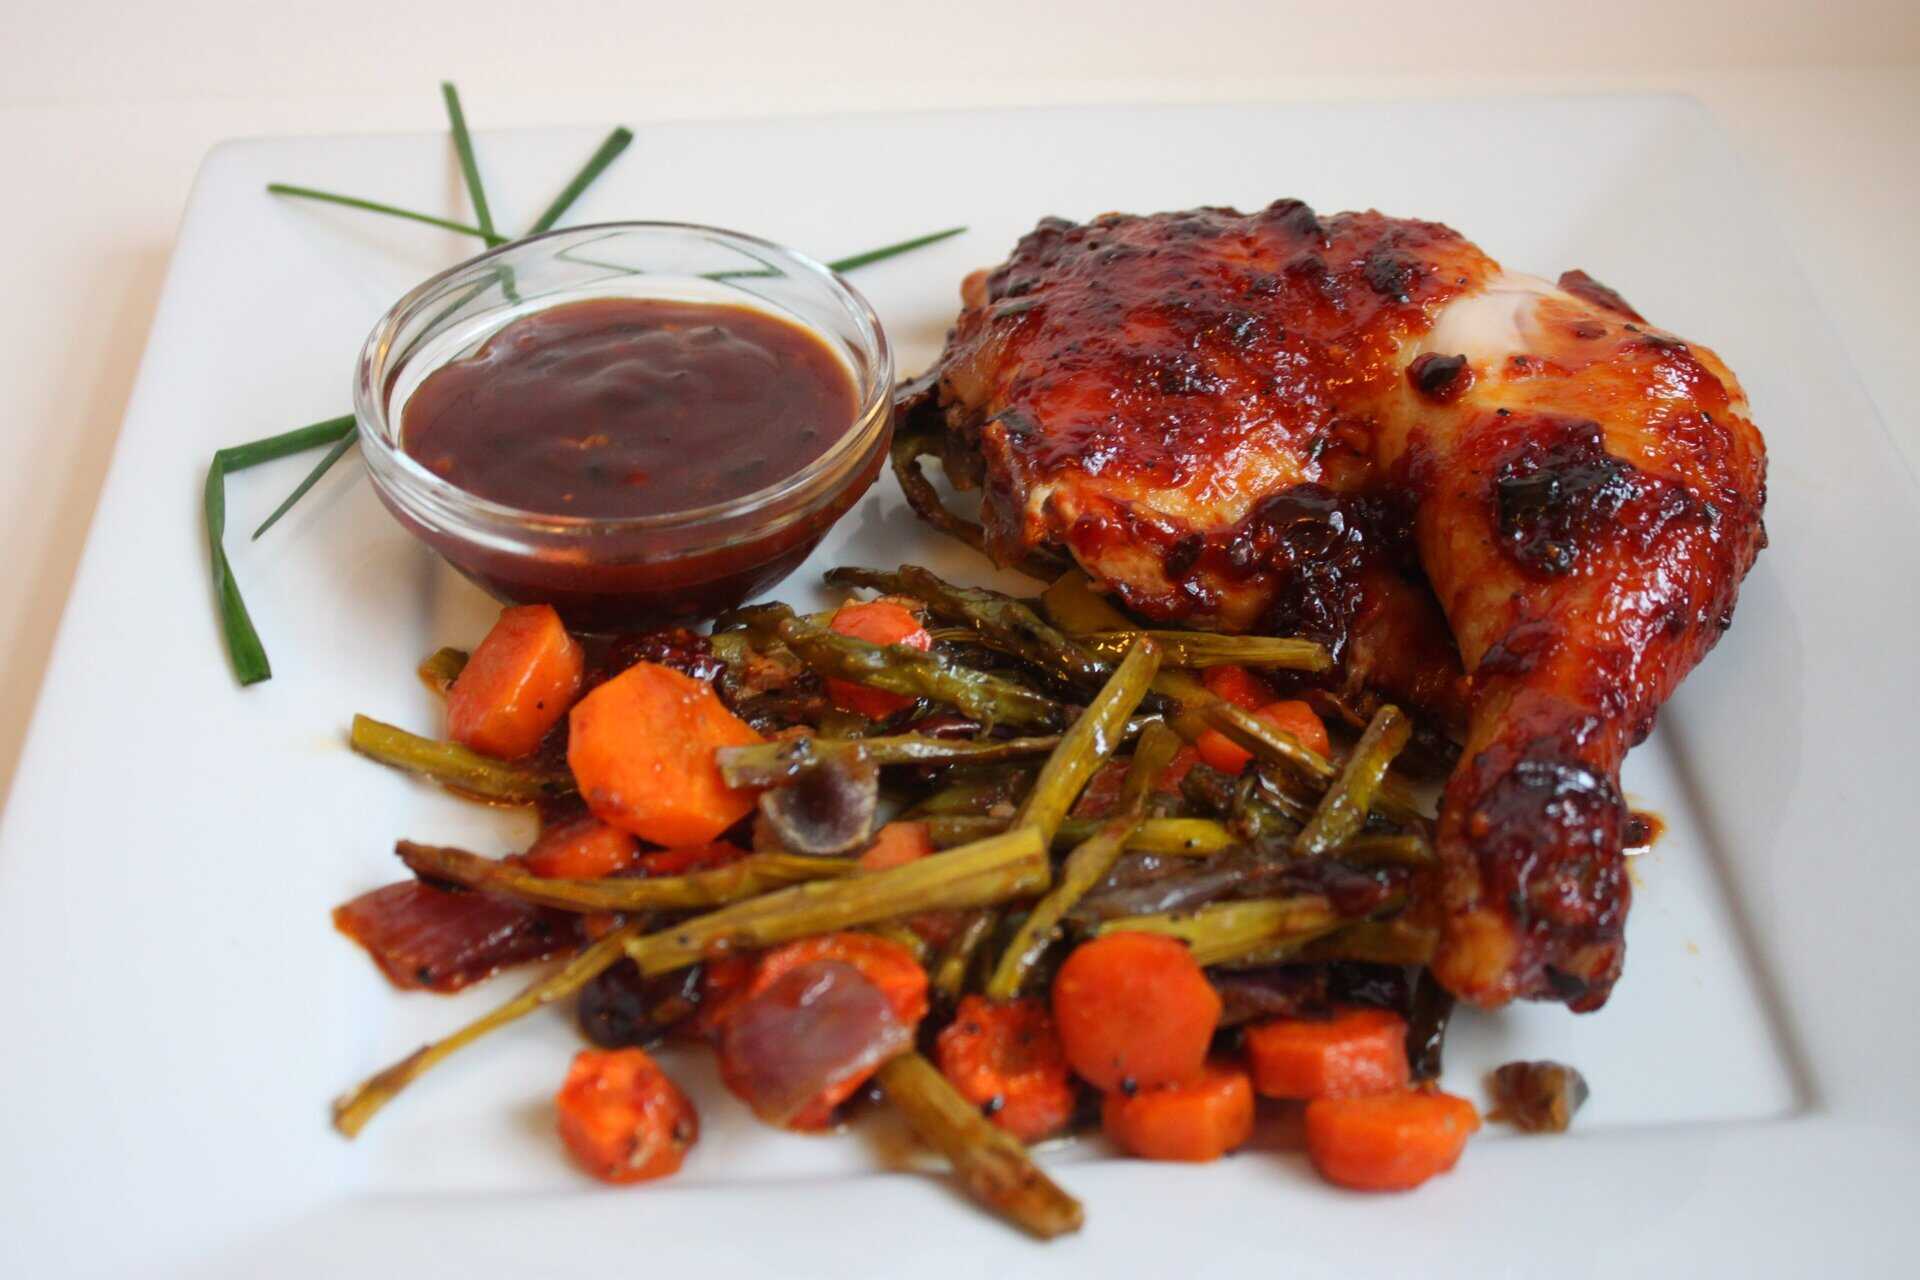
Spatchcock Chicken with Homemade Chipotle BBQ Sauce
Ingredients
Method
- Place the chicken breast-side down and cut along both sides of the backbone with sharp kitchen shears; remove it. Flip the chicken and press down on the breastbone until it lies flat.
- Rub olive oil all over the skin (under the wings too) and sprinkle generously with salt and pepper.
- Shake all the BBQ sauce ingredients together in a mason jar. (Keeps in the fridge up to 7 days.)
- Line a baking sheet with foil and spread the oiled, seasoned root vegetables over it. Set the chicken on top so air can circulate underneath, and brush it all over with BBQ sauce.
- Roast at 425°F for 25 minutes, then baste with more sauce every 10 minutes for another 30-40 minutes, until a thermometer reads 165°F in the thickest part of the breast.
- Rest 10-15 minutes. Cut off the legs and thighs, then the wings, then the breast meat, and arrange on a platter with the vegetables and extra sauce for dipping.
