Are you drooling yet? Don’t you just want to pick up the BBQ chicken pizza and lick off all those mouth-watering toppings?! I know, me too. The whole reason I made this pizza was because I had a craving. My sister used to work at California Pizza Kitchen and I would go down there to visit her from time to time.
I always scoured the menu thinking I might try something new, but I always settled on the BBQ chicken pizza because it was THAT good. I couldn’t pass it up! Sadly, there are no California Pizza Kitchens in Tennessee. There are the frozen pizzas at the market, but it is just not the same. So I set out to create my own and I think I came pretty darn close!
Two Ways to Make BBQ Chicken Pizza
There are a couple of ways to make this beauty:
The first way is the most savory. I make my own pizza dough and I grill my own chicken. But I totally understand that we don’t all have an hour to prep dinner every night. Reality is that we want something tasty in about 30 minutes or less. So there is a second way to make it, with an already roasted chicken from the grocery store and premade pizza dough. Neither way is wrong, so I will let you decide how to try it out.
Quick and Easy BBQ Chicken Pizza
Let’s say it’s been a long day and you need something super quick. Grab pre-made pizza dough and roll it out onto a baking sheet. Now skip down to Step 7.

Homemade BBQ Chicken Pizza
But maybe you want to go the oober-homemade route. You’ll need to make the pizza dough first since it will need an hour to rise before baking. The recipe I am going to give you is enough dough for two cookie-sheet size pizzas. If you can only eat one, the dough can be stored in the fridge for several days before using. I got the recipe for the dough from Ree Drummond’s first cookbook. It’s pretty much like my second Bible!
Making the Dough
Step 1
Start out with 1 and 1/2 cups of WARM water and 1 packet of active dry yeast (about 2 tsp). Let it sit for 10 minutes so the yeast can activate.

Step 2
Set up your mixer with the paddle attachment. Pour in 4 cups of all-purpose flour.

Step 3
Now add 1 and 1/2 teaspoons of kosher salt. Turn the mixer onto one of the lower settings. As the flour is mixing, slowly add 6 tablespoons of olive oil, one at a time. This allows the oil to mix in evenly and not clump the flour mixture.

Step 4
After the 10-minute activation is done, turn the mixture to a slightly higher setting. Slowly pour in the yeast mixture until the dough begins to clump.

Step 5
It will probably look something like this. So scrape it all off, forming a ball.

Step 6
Grab a large bowl and sprinkle a few drops of olive oil inside. Use your fingers to smear it around, coating the bowl. Then put your ball of dough inside and cover it with plastic wrap. Allow it to rise at least 1 hour before rolling it out to bake.

Preparing the Chicken and Toppings
Step 7
Now you have a choice of how you would like to make your chicken. If you are going to grill your own (which always gives the best flavor), start by marinating it in your favorite BBQ sauce. Use as much or as little chicken and sauce as you like. I love to slather it on thick! But make sure whatever sauce you marinate the chicken in is the same one you spread on the dough. Let that sit for 30 minutes or so. Grill the chicken 5-7 minutes on each side or until a meat thermometer reads 160 degrees. Don’t flip the chicken too often or you will miss out on those nice char marks.
If you are going the easy route, get a pre-cooked chicken at the market. Sometimes they have different flavors. If so, grab the BBQ one. Shred the chicken and mix it up with some BBQ sauce to soak in the flavor.

Step 8
While the chicken is marinating, chop up a red onion and a bunch of cilantro. Pull out your mozzarella cheese and shred it if necessary.

Step 9
Pull your chicken off the grill and then cut it up into bite-size pieces.

Assembling the BBQ Chicken Pizza
Step 10
Whatever pizza dough you are using, roll it out onto your baking dish. Spread some BBQ sauce all around. Don’t be shy. The more, the better!

Step 11
Now sprinkle the chicken on first, the cheese second (it’s so yummy when it’s melted against the chicken), the red onion third, and the cilantro last. You can always leave the cilantro to sprinkle on after cooking as well.

Step 12
Pop the BBQ chicken pizza into an oven pre-heated to 425°F. If you followed this pizza dough recipe, bake it for about 12-15 minutes, or when you see the edges nice and golden brown. But if you are using a pre-made dough, be sure to follow the directions for time and temperature from the package.
As you can see from the picture, I baked both my pizzas the same night. The other I topped with leftover spaghetti sauce, cheddar cheese, and mushrooms. I emptied a few contents of the fridge, and the kids gobbled it up!

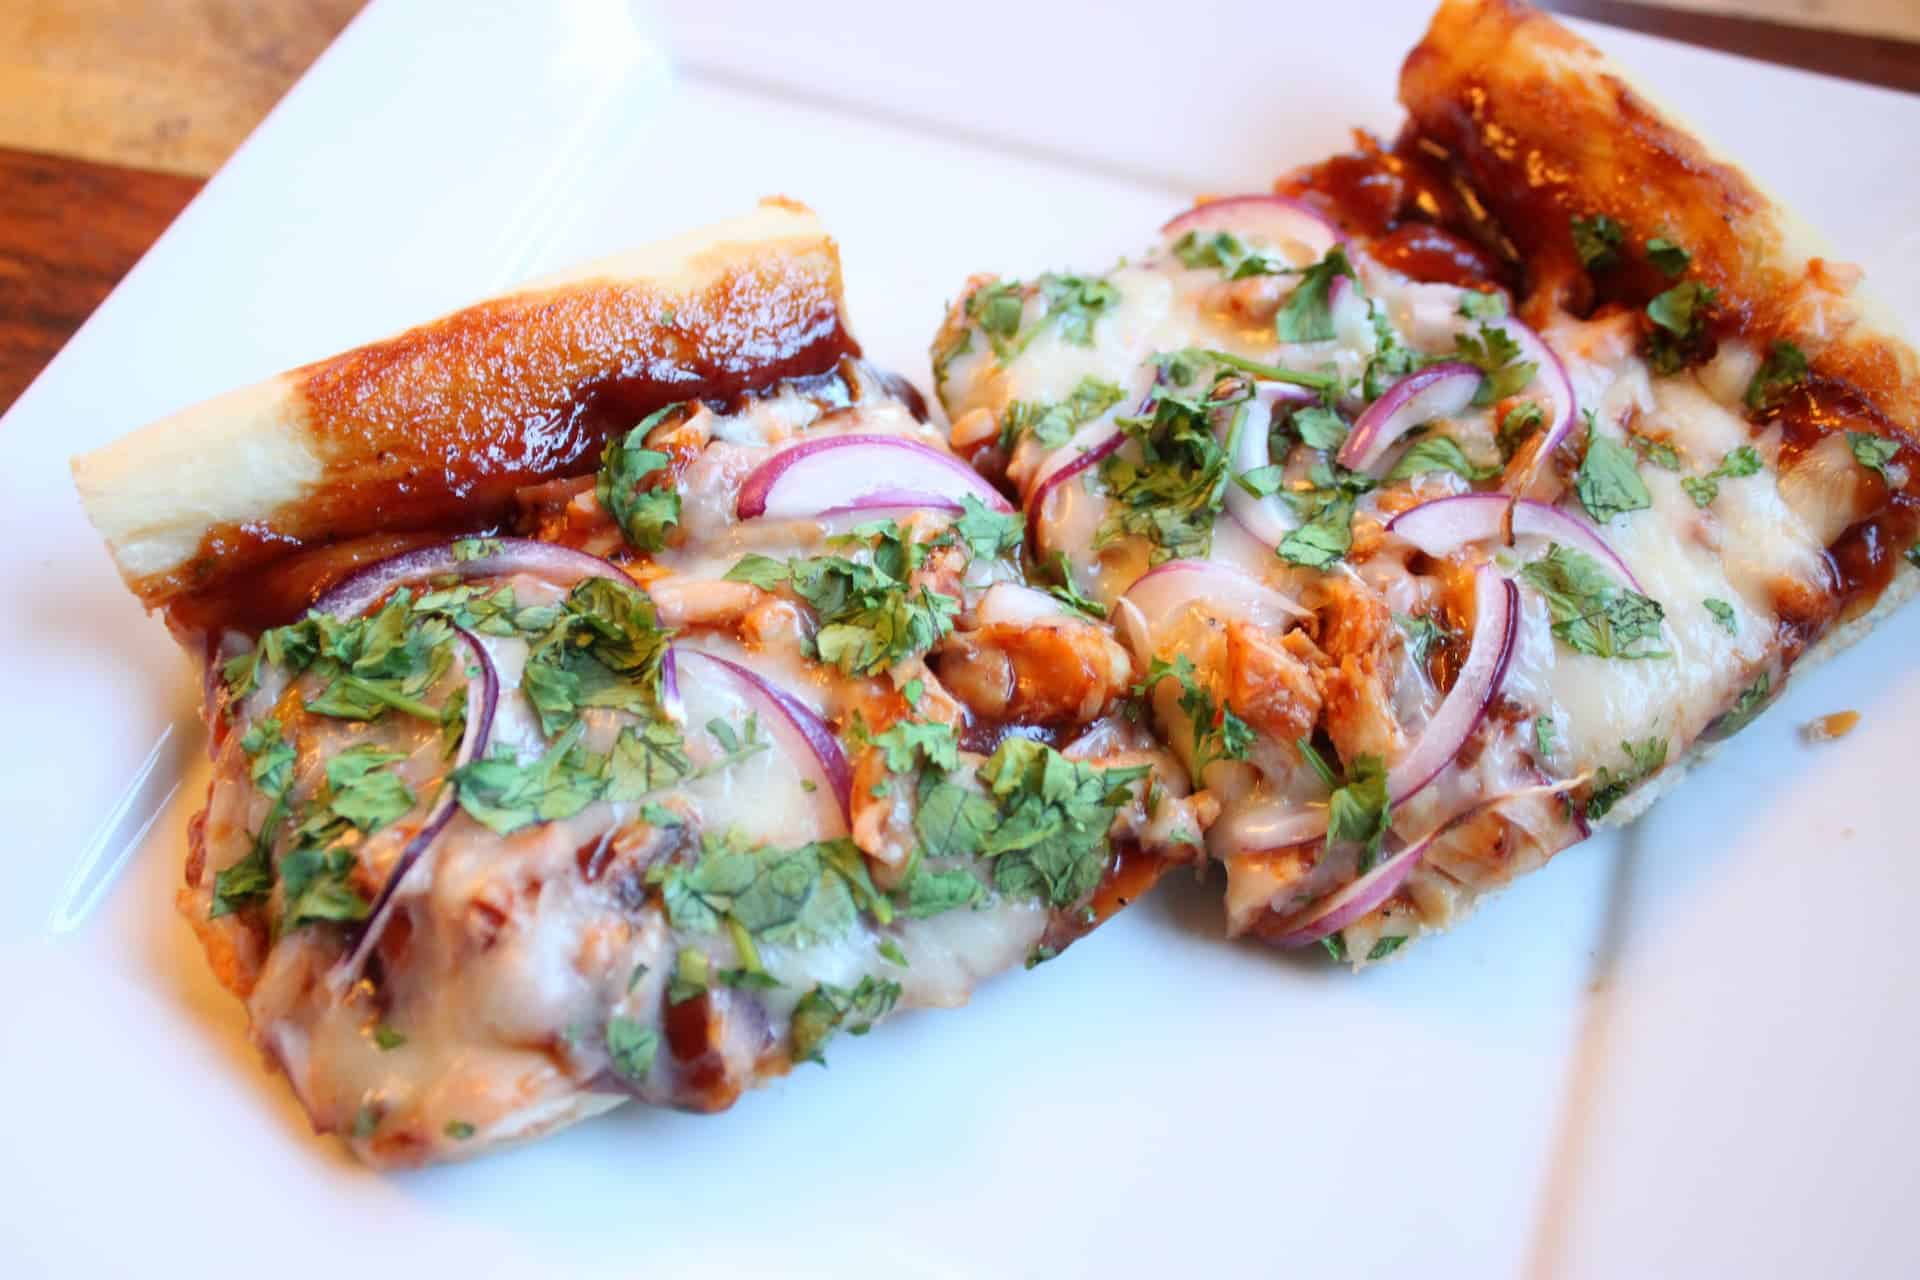
Enjoy Your BBQ Chicken Pizza!
There she is! Your very own BBQ chicken pizza! I guarantee you’ll be licking your fingers. It will not last long in the house!

Sometimes I pair this BBQ chicken pizza with my light Apple Blue Cheese Salad or my Candied Pecan Salad. The BBQ Chicken pizza does great at a kid’s birthday party alongside M&M Peanut Butter Bars.
Happy Cooking, y’all!
