Imagine preparing breakfast for the entire family in under 10 minutes, without relying on preservative-filled packets. My make-ahead Steel Cut Oatmeal plan makes it all possible! Prepping breakfasts for the week has transformed our mornings. My husband grabs a healthy meal as he dashes out, I’m no longer scrambling to find food while my kids search for hidden snacks, and we all enjoy a protein-packed start to the day. This setup has been life-changing, and I will never go back!
Master Your Mornings with This Make-Ahead Steel Cut Oatmeal Plan!
Step 1: Preparing the Steel Cut Oatmeal
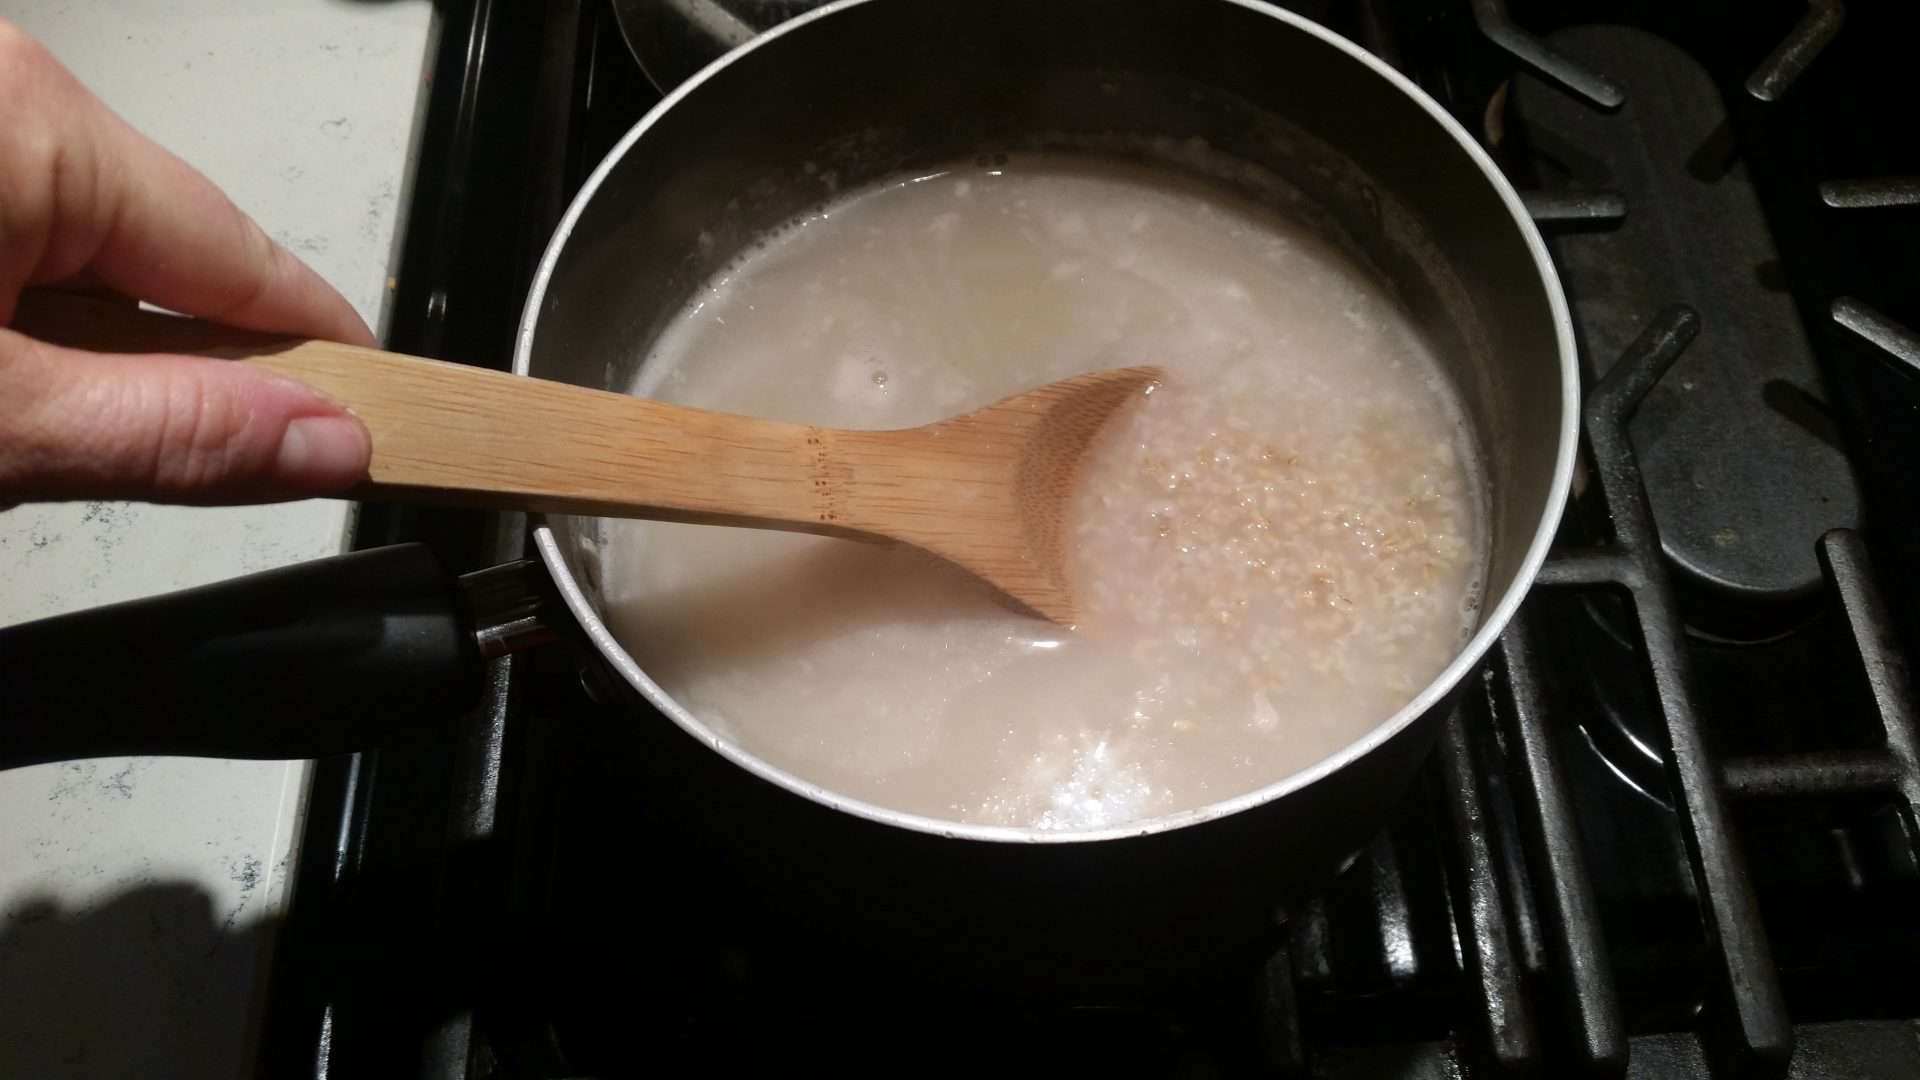
This recipe yields six portions, perfect for weekly meal prep. Each Sunday, I make a batch specifically for my husband to eat each morning. He has his own dedicated container in the fridge, separate from what the kids and I use. Begin with six cups of water, bringing it to a boil. Add 1 1/2 cups of Steel Cut Oatmeal; they need to be steel-cut to avoid the mushy texture that quick oats would have by week’s end. Lower the heat and let them simmer for 25 minutes, stirring occasionally.
Pro Tip: Toasting the Steel Cut Oatmeal in a little butter or coconut oil before adding water releases a nutty flavor and enhances the oatmeal’s creaminess!

Step 2: Storing and Cooling
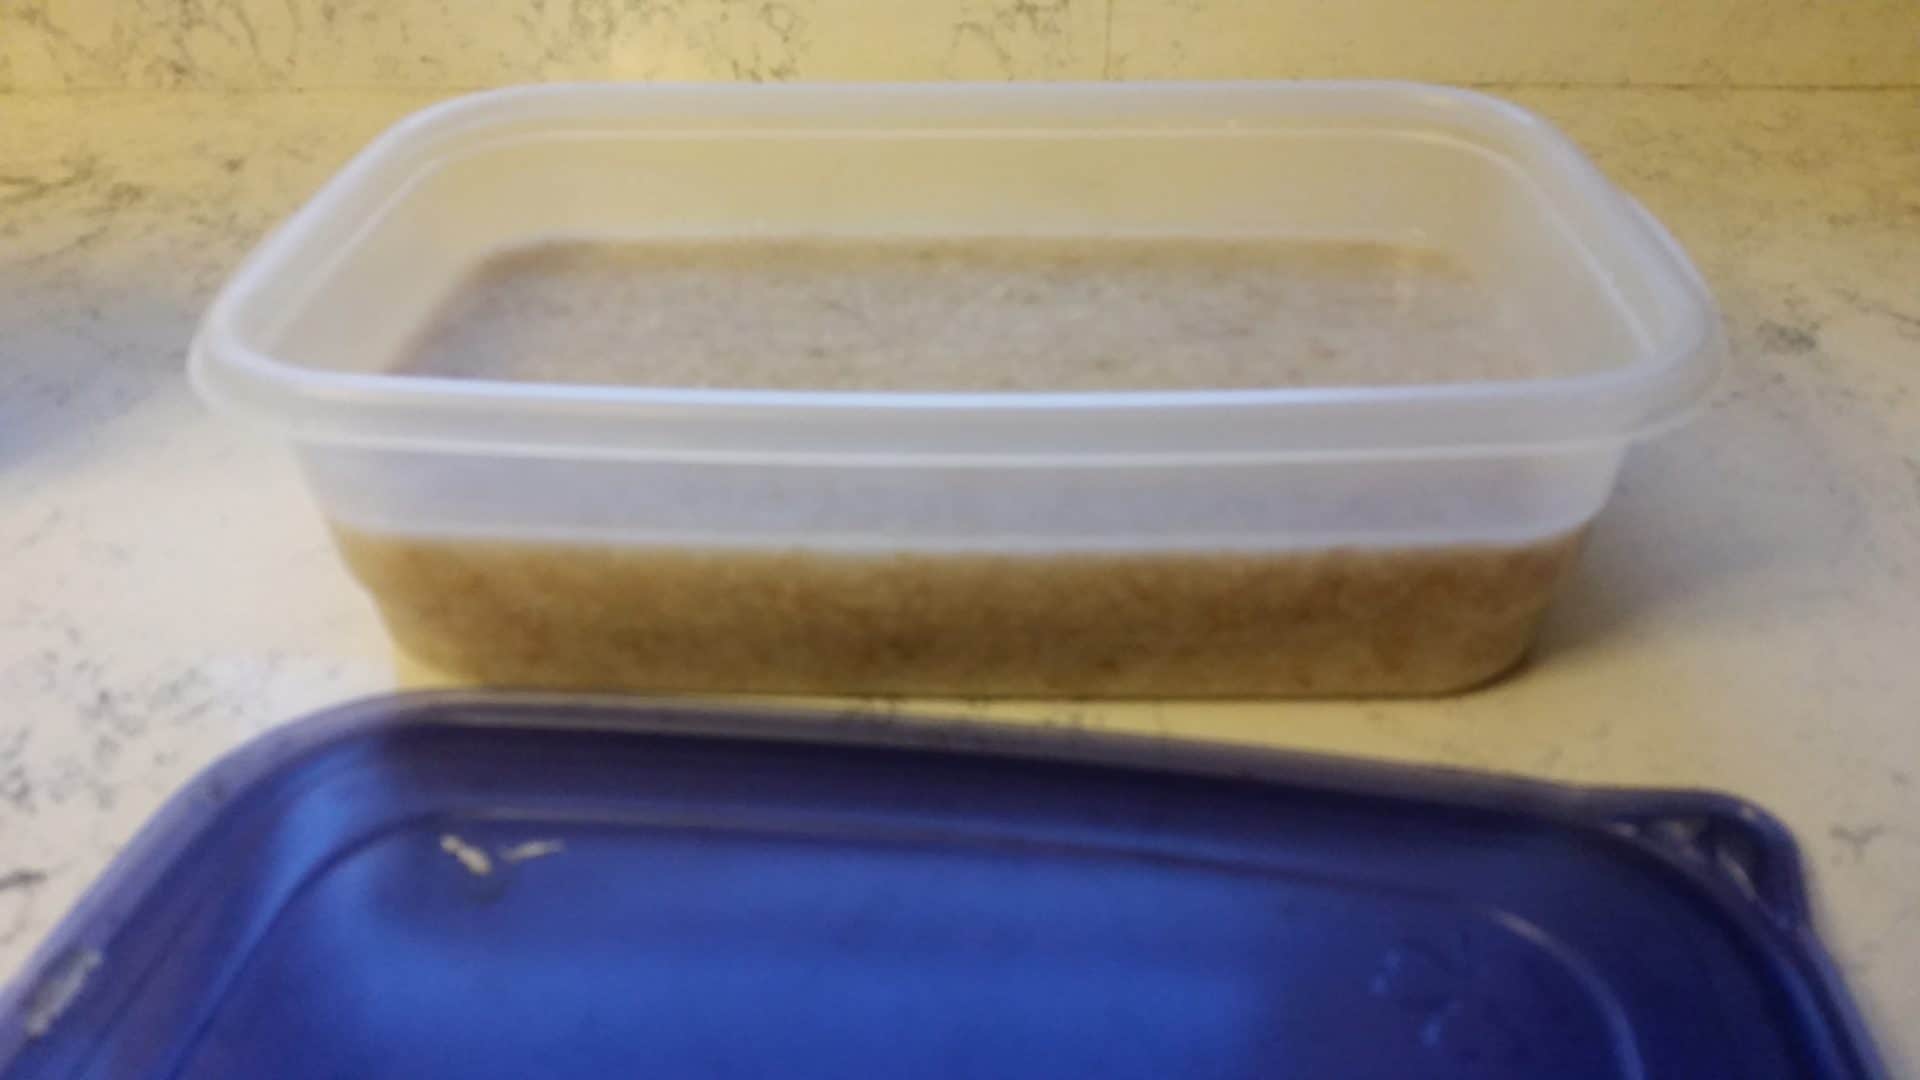
After cooking, let the Steel Cut Oatmeal cool slightly but stay warm as you pour it into your chosen container. This ensures it stores well and remains fresh for the week.
Storage Tip: Steel Cut Oatmeal can last in the fridge for up to a week, making meal prep simple and convenient. For a longer-term solution, freeze portions in muffin tins for single servings. When reheating, add a splash of milk to restore their creamy texture.
Health Note: Steel Cut Oatmeal is the least processed type, so it retains more nutrients than other oats. Known for helping lower cholesterol and stabilizing blood sugar, it’s an especially nutritious breakfast choice!

Step 3: Toppings for a Quick Breakfast
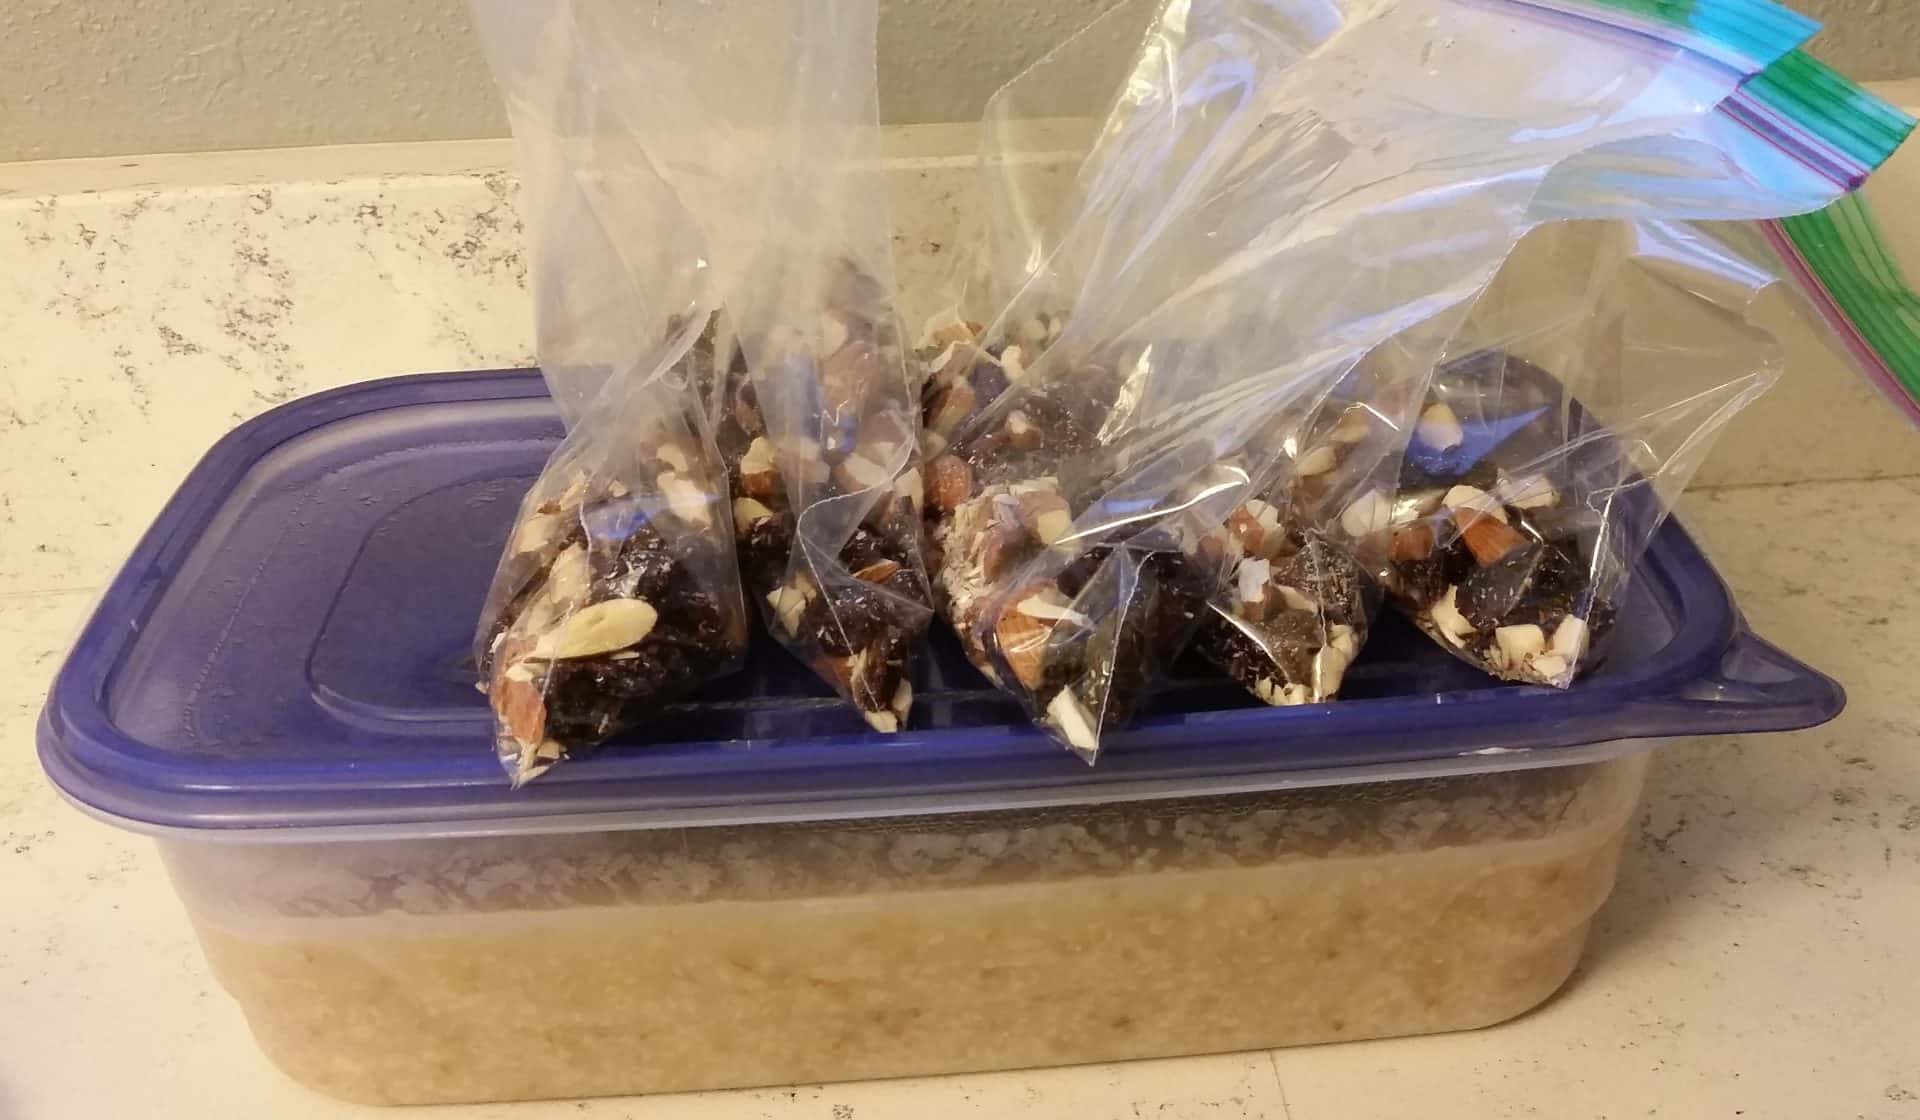
Each morning, I add fresh fruit like blueberries and bananas to our oatmeal. For my husband, who’s often in a rush, I prepare easy-to-grab toppings in advance. Using my small chopper, I dice one cup of raw, unsalted almonds, as chopping them by hand is quite a task! This handy gadget provides a consistent texture with just a few pumps. I mix the almonds with a handful of raisins and dried cranberries, dividing them into five sandwich bags, one for each weekday.
Topping Inspiration: Steel Cut Oatmeal is a fantastic canvas for flavor! Try peanut butter, chia seeds, or dark chocolate chips for an extra treat. Seasonal fruits like apples, strawberries, and mangoes add a refreshing twist, too.

Step 4: Storing and Heating the Steel Cut Oatmeal
The Steel Cut Oatmeal and prepped toppings go straight into the fridge. Each morning, my husband grabs a portion, adds two tablespoons of water or milk, and microwaves it for 1–1:30 minutes. It’s far better (and cheaper) than grabbing fast food every day.
Budget Bonus: Restaurant oatmeal bowls can cost $6 or more, while homemade Steel Cut Oatmeal costs just pennies per serving! Making oatmeal at home keeps breakfast both healthy and affordable.

Step 5: Adding Your Favorite Toppings
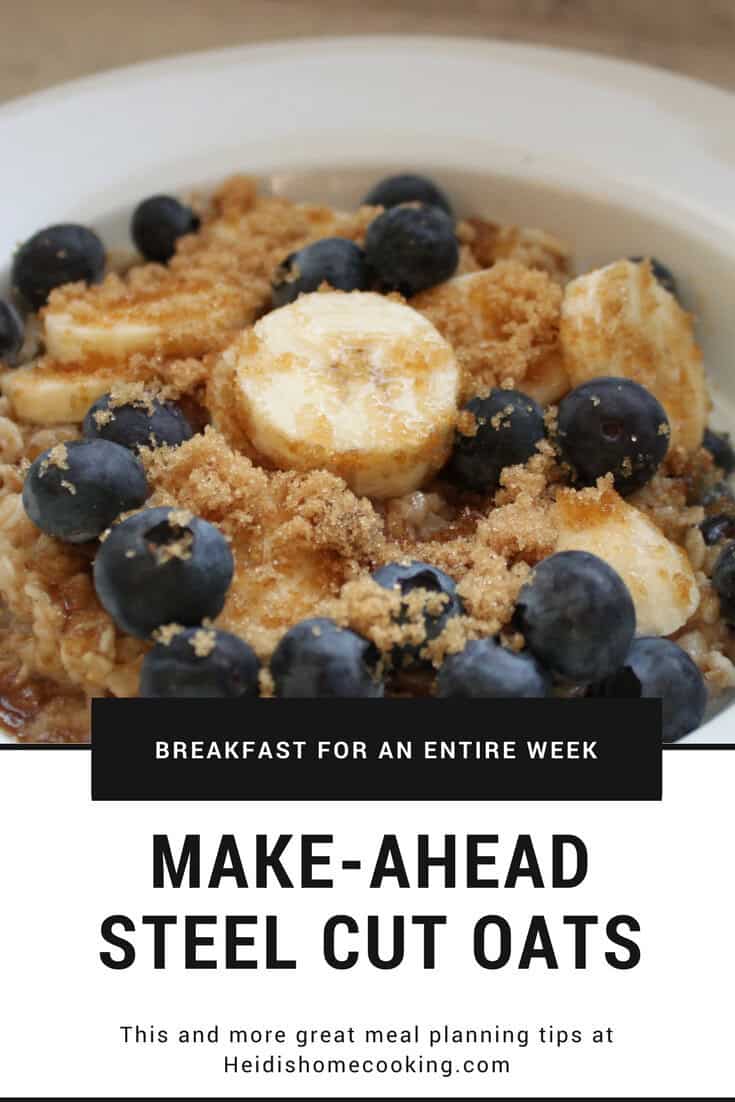
For my breakfast, I warm my Steel Cut Oatmeal, add a splash of cold milk, and top with blueberries, half a banana, and a sprinkle of brown sugar. And don’t forget coffee! A hot cup, even if rarely finished warm, is essential. Whoever coined “slow and easy like a Sunday morning” definitely didn’t have three kids to wrangle into church clothes by 9 a.m.!

Alternative Cooking Methods: For busy mornings, try using an Instant Pot or slow cooker to make your Steel Cut Oatmeal with minimal effort. If you prefer a cold breakfast, Steel Cut Oatmeal works well as overnight oats, too.

If you’re looking for more easy breakfast options, try my make-ahead Avocado and Turkey Bacon Breakfast Sandwiches. For additional ideas, visit my Recipe Blog or follow my Bright-Eyed Breakfast board on Pinterest. Here’s to smoother, more delicious mornings! Happy cooking, friends!
